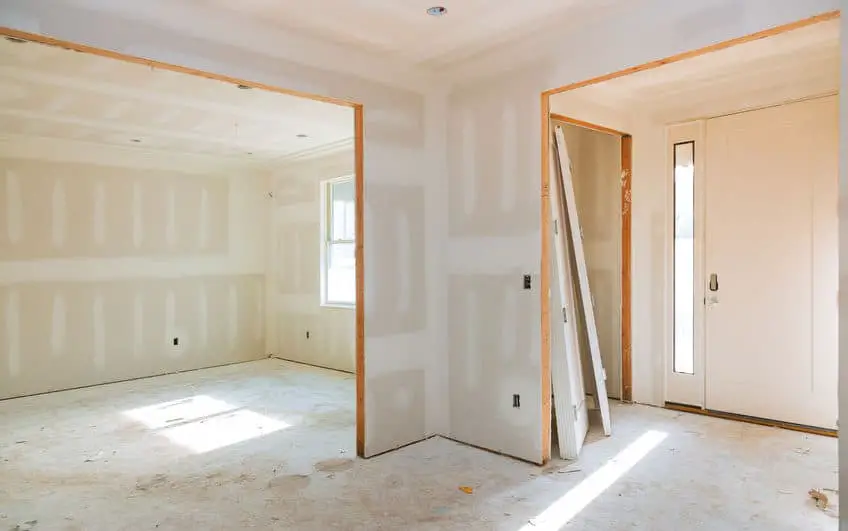
Putting up plasterboard is an important process, especially when it comes to building a home, but not a particularly difficult one. One important thing to think about when completing this project is if you should stagger your plasterboard.
Plasterboard should be staggered, however, it is not a requirement. It is a good idea to consider, as staggering your boards will make the joints of the wall not as visible overall. If you do stagger your plasterboard, it is advised that you put them up horizontally, and not vertically.
Putting up plasterboard is meant to be done once a stud wall (which is basically the skeleton of a wall) is finished. But there is something to take into consideration before you go about putting up your plasterboard. These include what it means to stagger plasterboard, why it should be staggered, and tips for installing it.
What Does It Mean To Stagger Plasterboard?
Before you can even consider deciding to stagger plasterboard, first you have to know what it is exactly.
To stagger plasterboard means that you are installing the drywall or plasterboard panels so that the butt joints are not aligned between rows that are adjacent to each other. We’ll get to know what butt joints are in a little bit.
You’ve probably seen things staggered before, like wood-paneled floors for instance. Staggering plasterboard is just like that but on a bigger scale. And just like the name of it sounds, it’s basically putting them in a sort of zigzag pattern so the seams aren’t in a straight line.
Plasterboard Joints

Joints are a big part of installing paneled plasterboards. What they are is where the pieces of two plasterboards meet, like the seams of the wall. These joints are also the weakest part of the wall or ceiling where they are being placed. There are mainly two different types of plasterboard joints.
Butt Joints: These are the shorter ends of plasterboards. They are where two non-tapered edges of plasterboard meet, which means that both boards have the same thickness. These types of joints are more difficult to hide in part because any tape you put on it after installing it will appear above the flat surface of the plasterboard. Butt joints always produce some sort of ridge.
They are also one of the weakest areas when it comes to installing plasterboard, and it’s a possibility that they can cause cracks. You can avoid noticeable butt joints by choosing to use longer sheets of plasterboard for your walls and ceilings, although you might still have a few that show up. According to one website, The Spruce, “With careful application of compound and sanding, butt joints can be made to disappear.” Source
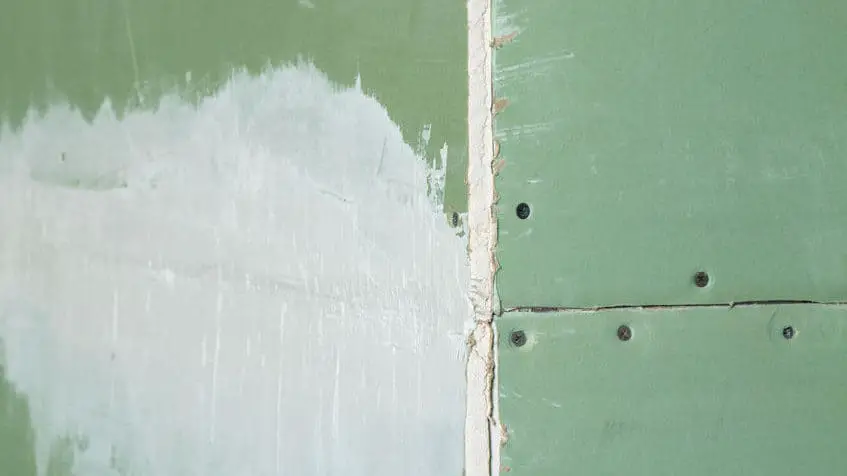
Tapered Joints: On the other hand, there are tapered joints, which are the longer ends of the plasterboard. They are the edges of two pieces of plasterboard with tapered ends. Just like their name, the ends of these sides slope downward just a bit.
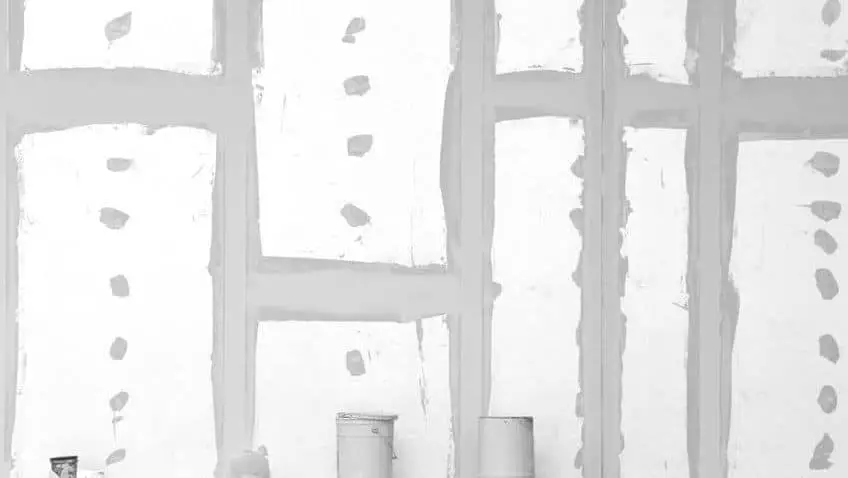
This is the easier joint to take care of because the little valley created by the slopes can be filled with some sort of joint compound (otherwise known as drywall mud) and topped with drywall tape to create a smooth and seamless surface.

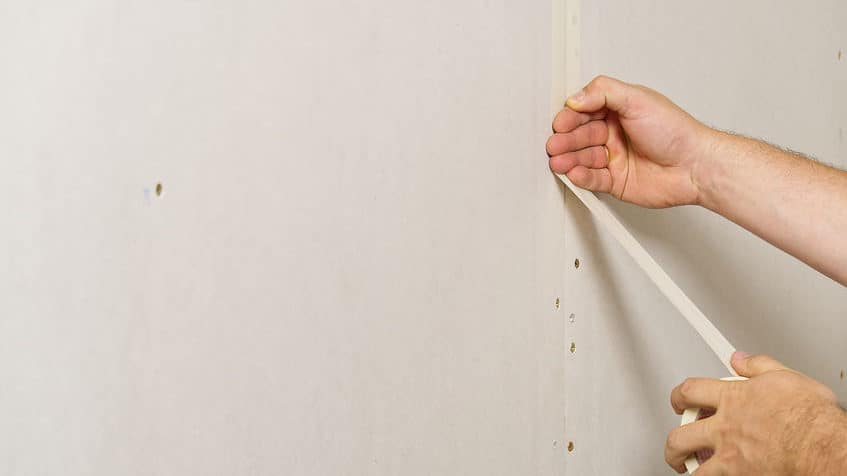
To finish up covering joints, tape it with drywall tape. There are two types: paper and mesh. If it’s paper tape, put a very thin coat of drywall mud over it and let it dry overnight. Mesh tape goes on much easier than paper tape, so if you use that instead there are no extra steps needed for it to be secure.
One of the key ways to try and hide evidence of joints is to recoat them and remove or replace the drywall tape if it is needed (for instance, if the tape has ripped or bubbled up).
Two other types of joints worth noting are internal corner and external corner joints.
Internal Corner Joints: These appear in places like the space or corner between the wall and the ceiling. Paper tape is the preferred one used for these corners as it is easier to crease in the corners.
External Corner Joints: These are basically what they sound like, corners that stick out (for instance, like from a protruding wall). They are taken care of differently than the other types of joints because instead of using tape they are typically covered with corner beading and secured with screws. It can be difficult to blend the beading with the plasterboard since it’s not as thin as drywall tape. Source
Why You Should Stagger Plasterboard
One of the main reasons you should stagger plasterboard, or at least consider staggering it, is because you don’t want your seams to line up too much. By staggering your boards wherever possible, your seams don’t end up on the same stud. This will reduce the risk of cracks developing after you’ve applied your skim plaster finish.
Staggering plasterboard will also help to improve your wall’s strength. If the joints ever do split, staggering the wall eliminates it from spreading too far and stops it from destroying the entire wall.
The fewer seams in your wall the better, and staggering help to eliminate unnecessary ones.
Tips For Staggering

One of the key things to remember when tackling this building job is that you should hang your plasterboard horizontally, rather than vertically. While you can put them up vertically, placing them horizontally is the more advisable way. The best strength is achieved when the plasterboard is placed horizontally because the boards have a grain along their length that improves the strength when attached perpendicularly to the stud work.
A good way to distinguish when to put your plasterboard up vertically or horizontally is by the type of job. For more commercial jobs, such as offices and medical centers, plan to install them vertically. For more residential jobs, such as houses and apartments, plan on installing your plasterboard horizontally.
An easy way to stagger out your plasterboard is to start your first row with only half a panel, and then begin your second row with a full panel. Then repeat this process until the installation is complete.
