Plywood is one of the most used materials because it is inexpensive and can be used in a variety of ways, from indoor projects to outdoor ones. Wherever you use plywood, it needs to be protected from water so that it does not mold and decay. Here are 10 tips that actually work when waterproofing plywood!
Let’s get to work!
1. Check If It’s Already Waterproof
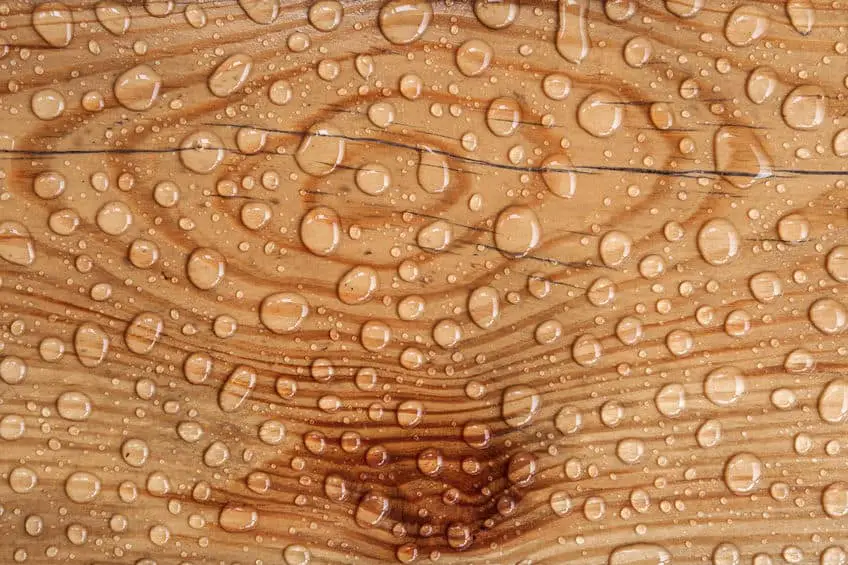
I know that sounds silly, but maybe your plywood is already waterproof! Some home improvement stores offer already waterproofed plywood and you may have lucked out! The easiest way to check if your plywood is waterproof is to throw some water on it. If the water stays on the surface of the wood, it’s waterproof! If it soaks into the wood, then you will need to waterproof it before continuing with your project.
2. Know Where The Wood Is Going
Knowing where your plywood is going to be used is very important. It will affect what type of waterproofing you use. There are several different ways you can waterproof your plywood and knowing if it is going to be used indoors or outdoors will help you know which sealant to use.
If your plywood is going to be used in an indoor project, perhaps cabinets, it will not need a stronger sealant. Because the wood will not come in contact with water often, it will not need something like epoxy.
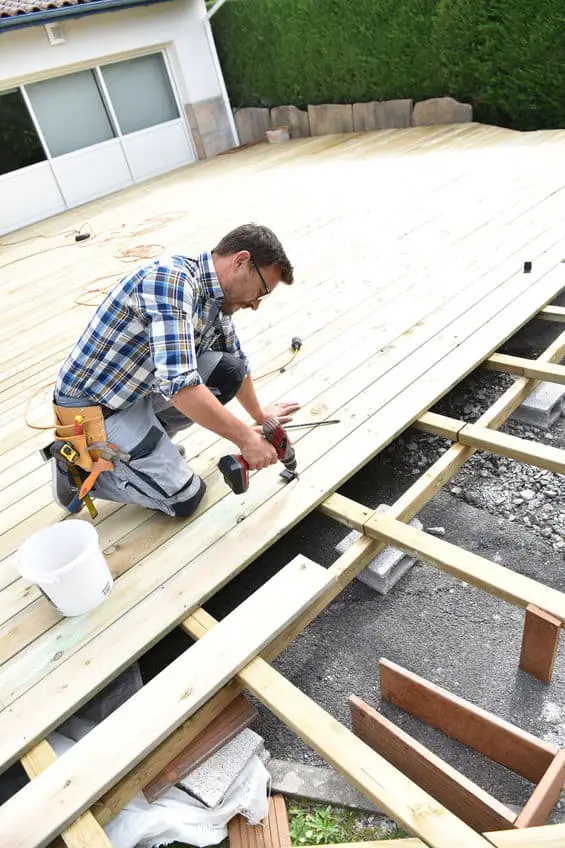
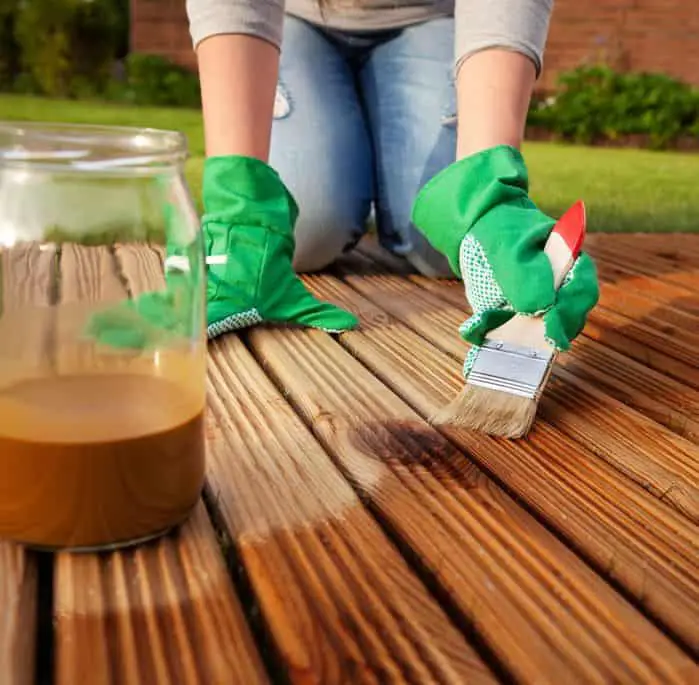
If your plywood is going to be used for an outdoor project, perhaps a deck, it will need a stronger sealant to block out the water from the elements. Wood that is kept outdoors will be exposed to a lot of water, whether it’s from snow and rain, or from natural humidity. Using a strong sealant will be important in preventing mold and decay in your plywood.
Not only will waterproofing your plywood prevent mold and decay from water, but it will also counter the effects of UV rays and avoid splintering. Your plywood is going to last a lot longer if you take the proper steps to protect it from water.
3. Get the Right Gear And Setup
Before you begin any sort of waterproofing, you are going to need the right gear and setup. For a project like this, you will need to have good ventilation in the room or a respiratory mask. All of the sealants we suggest release fumes that could be harmful to you. Additionally, when sanding the wood, there will be a lot of dust in the air. Without the proper protection, you may have an allergic reaction to the dust or it could irritate your eyes.
Another great piece of gear to have is rubber or latex gloves. This will protect your hands from the potentially dangerous materials that make up the sealants as you work. Any of these sealants can irritate your skin and can become problematic. Take the necessary cautions now before it becomes a problem later.
With any project, be sure to have a proper setup away from pets and children that may get hurt. Be aware of your surroundings to prevent any dangerous occurrences with materials and tools.
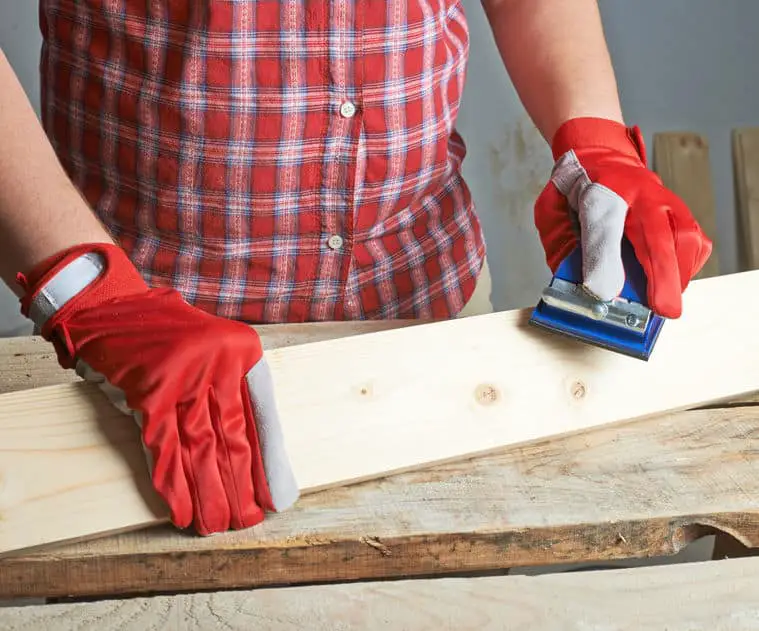
4. Sand It Before Waterproofing
This is one of the most important tips we can give you. Before sealing any wood, you need to wipe it down and sand it. Removing any dust, dirt, or messiness will help the sealant really stick to the wood. With a damp rag, wipe down the wood to clear away all the residue.
If there are any inconsistencies in the wood, divots, or uneven edges, now is the time to fix them. It is not ideal to fill in holes after sanding or sealing because you’d just have to start all over again. Most home improvement stores carry wood filler that will do an excellent job at evening out those holes, smoothing those edges, and filling in gaps.
Next, use fine-grit sandpaper, anywhere from 100 to 200 grit, to sand down the plywood. Using finer grit sandpaper will ensure a softer finish to the wood. Sand the entire piece of wood for an even surface. Wipe down the surface again to remove all the dust created from the sanding.
5. Epoxy Sealant
Epoxy sealing is going to be the best option for outdoor projects. Depending on the type of epoxy you use, it will retain the natural color of the wood or give it a tint. This type of sealant is one of the easiest to apply and does not require many layers or subsequent coats. You can get epoxy from any home improvement store.
When applying epoxy to plywood, it is important to have the proper protection, sand down the wood, and wipe away any dust and debris. Also, have the room and floor properly prepared for your project. Epoxy is extremely hard to get out of every type of surface.
Pour the epoxy into a metal can or Tupperware, anything that will make it easy to dip in your brush, and mix thoroughly. Using a bristle brush or foam paintbrush, apply the epoxy. You’ll want to apply it evenly, with not too much epoxy on your brush. Be careful to not overwork the epoxy. Brush it too many times and it could cause discoloration.
Another way you can apply the epoxy is with a paint roller. Instead of using a can or Tupperware, place the mixed epoxy into a paint tray. Using a thin paint roller, one that is not fluffy or texturized, and dip it into the epoxy. Be sure to get an even amount on all of the roller, otherwise, there will be inconsistencies on the wood. With even strokes, apply the epoxy to the plywood.
If you would like more thorough instruction on how to apply epoxy to wood, here is a handy video made by a professional:
Epoxy is going to take a long time to dry. Be patient! If you rush the process, it could have mixed results. When the epoxy is almost dry, apply another layer. Depending on the type of plywood you use, whether it is soft or hard, you may need to apply another layer. Three is the recommended amount of layers.
That said, it may take the epoxy a few days to completely dry before being ready to be used. Read the instructions on the epoxy can to give it the proper amount of time to dry.
6. Latex Paint
Painting is going to be the easiest form of waterproofing, especially for outdoor projects. Plus, there is a whole plethora of colors to choose from! Choose latex or polyurethane-based paint or spray to seal the porous nature of the wood.
Sand the wood first, then apply the paint or spray. You will need to apply 2-3 coats to make it most effective. A paint roller is probably going to be the easiest way to paint the wood.
Although this is the most cost-effective sealant, it does require repainting often.
7. Wood Oils
Penetrating hard oils will soak into the wood, protecting from intruding moisture. However, this option is best for indoor projects, unless you want to be reapplying it frequently to your outdoor projects. It does offer some protection, but rain, sunlight, and wind will remove any of the oil on the surface of the wood that is keeping it flexible.
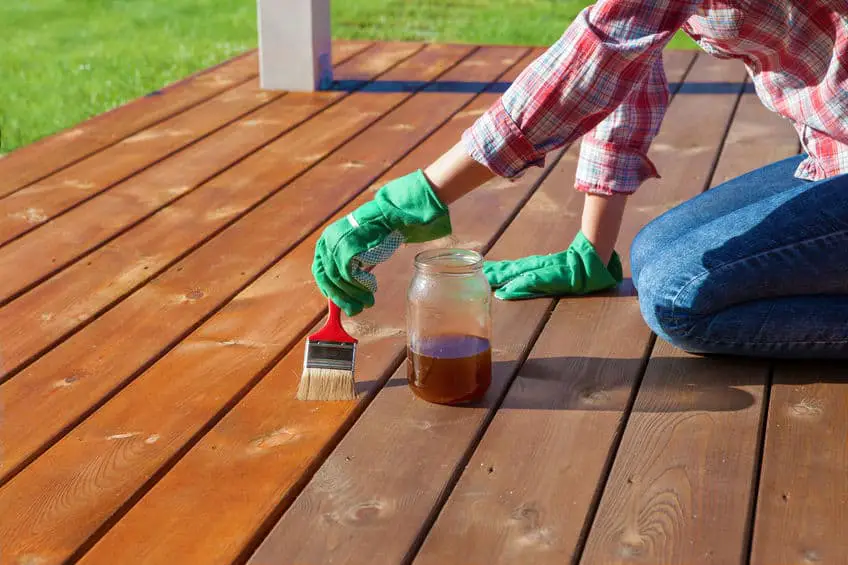
Wood oils can be applied easily, takes about 4-5 coats to be complete, and takes quite a while to dry. However, wood oil looks great! Because it will raise the wood a bit after being applied, it gives it a more natural look. It removes any of the tackiness that many come from paint or other sealants.
8. Lacquer & Varnish
Both of these sealants are great options for inside or outside projects. Like other sealants mentioned, they are easy to apply with a brush, paint roller, or spray. They can give your plywood a rich color, great water protection, and can also offer UV protection. Be aware, though, that some sealants will yellow over time.
When waterproofing with lacquer, or varnish, be sure to get the right material. There are different types of sealant for different types of wood. Getting the right lacquer, or varnish will be important in keeping your wood moisture-free.
Additionally, when applying any of these sealants, it is extremely important that you have the right protection. Lacquer and varnish are all made of harmful chemicals that, if the fumes are inhaled, can be quite dangerous.
Here is a simple video showing how to lacquer with a spray. Jump to minute 5 to get right into the lacquering portion.
9. Lots Of Layering & Relayering
Waterproofing your plywood can be a time-consuming process. But if you take the time to go through all the proper steps, it will be worth it! One of the best tips for sealing wood is to apply many layers. Most sealants will suggest 2-3 layers. This is great! One layer is not going to be enough.
However, for many outdoor projects, the wood will be exposed to the elements frequently. It will deteriorate faster than any of the wood projects inside. You will need to apply more layers or even relayer the sealant in the future. When the sealant begins to show wear and tear, it’s time to reapply sealant.
Let’s talk about what needs to be done for reapplication of each sealant.
Epoxy
When reapplying epoxy, there is no need to remove a previous layer unless there are obvious defects in the surface. Those need to be fixed before reapplying a coat of epoxy. Here is a simple video teaching how to fix divots or defects in epoxy:
Latex Paint
Before painting your wood again, you will need to remove any existing paint. Most likely, your paint will have begun to flake and not stick to the wood anymore. If not removed, the new layer of paint will have bumps and inconsistencies that will make the project look a little disheveled.
Remove all paint by scraping it off and sanding it down. Once all the paint is gone from sight, you’re ready for a new coat! Because you have chosen to use paint as your sealant instead of one of the other options, you will need to do this often.
Wood Oils
Lucky for you, wood oils only need a light sand-down before reapplying. The wood oil typically stays on the surface of the wood after soaking in. After sanding and wiping down the wood, you can apply another layer of wood oil.
Because this oil is typically used inside, it will not need too many new layers, unless used outside where it will dry out easily.
Lacquer & Varnish
Unfortunately, these types of sealants are going to require more preparation before reapplication. Spray some lacquer thinner on top of the lacquer to make it malleable, just as when you first applied it. Do a light sand-down and then reapply the lacquer.
Because lacquer and varnish do not decay very fast, you will not need to reapply very often.
10. Clean Up And Extra Sealant
When doing any kind of waterproofing of plywood, please be very careful, as sealants are most often flammable. You will want to throw away any empty cans or spray canisters of sealant and any rags, paint rollers, and brushes. This will help keep your workspace clean and safe. Disposing of any materials used in the sealing process is important.
However, that does not mean you need to get rid of the extra sealant you have. That extra sealant will be handy if you need to reapply another coat at a later date. Even if you don’t have enough for another layer, having some sealant already on hand will also help you remember what kind of sealant you used on your plywood project.
Removing Sealants From Other Surfaces
If you find epoxy, varnish, or wood oil on a surface that should not have it, you can sand it down, scrape it off, or use acetone (nail polish remover) to remove it. If you find lacquer on a bad surface, use lacquer thinner before trying something else.
Having any of these sealants on your skin is not good. Please take IMMEDIATE action to remove it. Acetone is probably the quickest and safest way to do this.