Are you looking at how to wallpaper drop ceiling tiles? If so, then you have come to the right place! Wallpapering, in general, has a reputation of being strenuous, and wallpapering the ceiling has an even worse reputation.
Because of its tapered reputation, wallpapering drop ceiling tiles may sound like an exhausting and daunting task. However, the eight steps below will make renovating your drop ceiling tiles as simple as possible and maybe even fun!
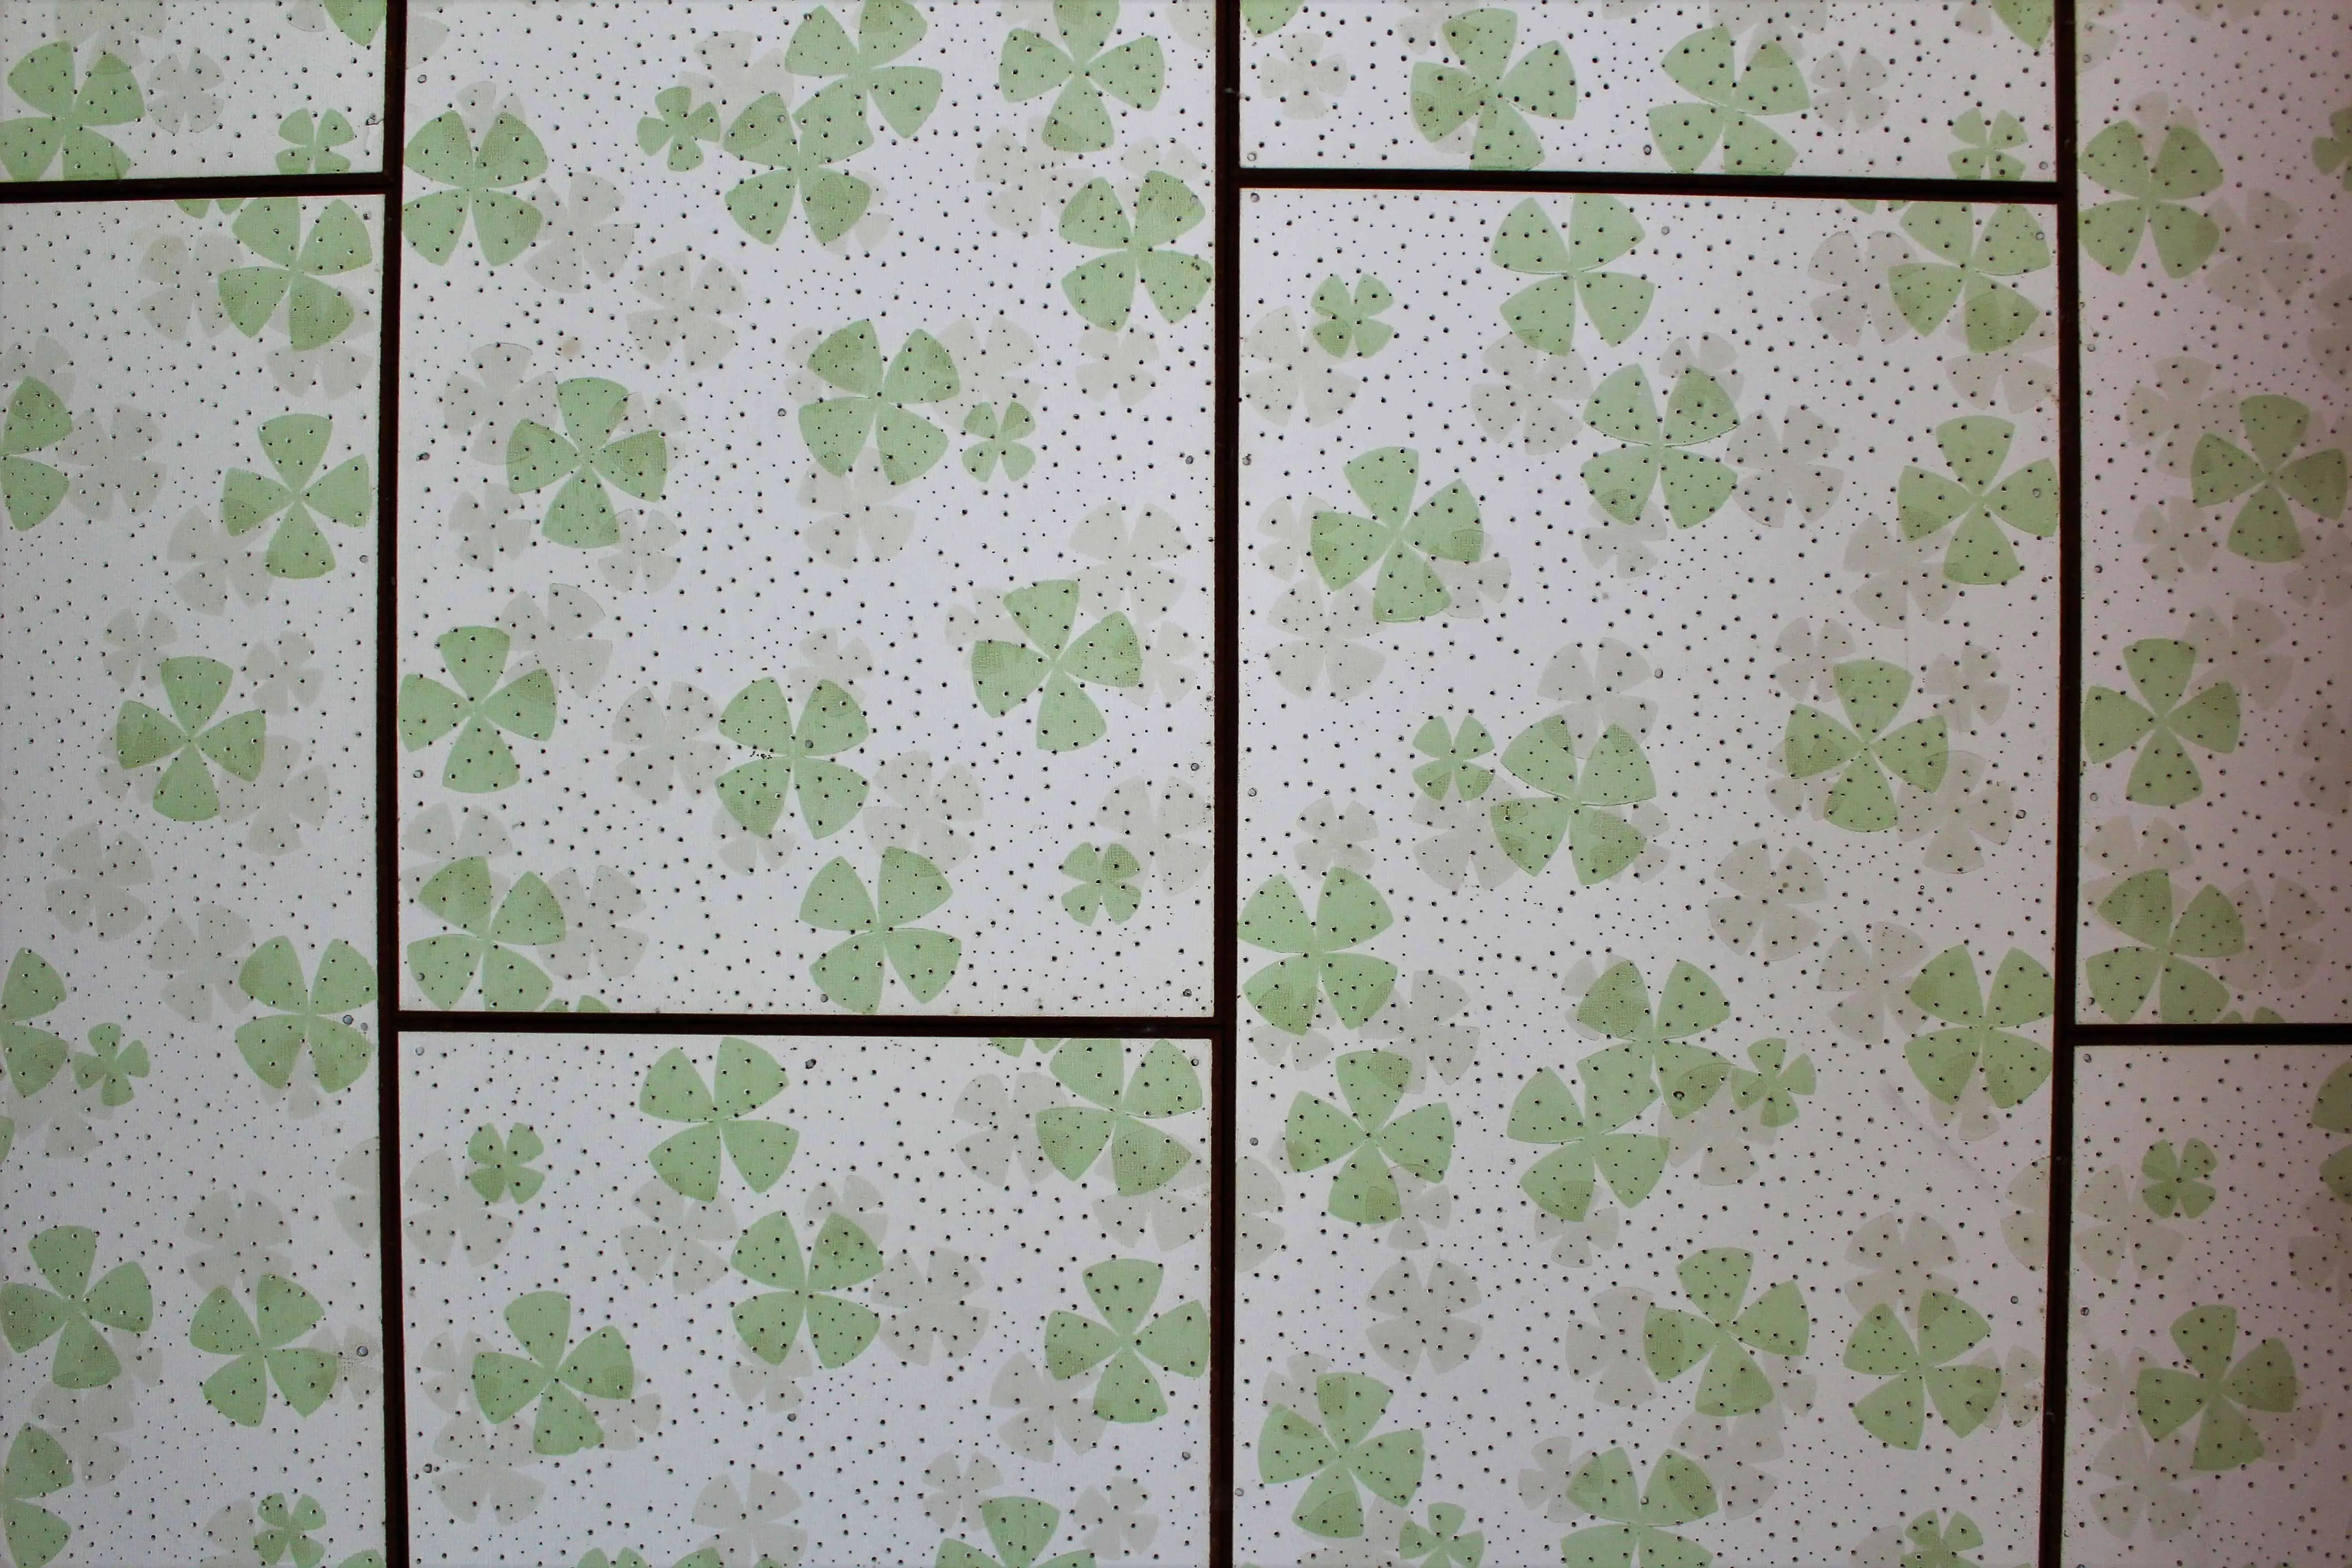
Wallpapering drop ceiling tiles are sure to spruce up your home! Drop ceiling tiles are common in older homes, and using wallpaper to cover them is one of the simplest ways to revamp. Decide which wallpaper will fit the aesthetic of your room and then follow the steps below to find out exactly how to apply it to your ceiling.
1. Decide On The Wallpaper

Deciding on the wallpaper that you want to use for your drop ceiling tiles is pivotal. Wallpapering walls is already difficult, and wallpapering the ceiling only adds to this difficulty. In order to reduce the difficulty, choose which options of wallpaper are best for you and your home.
Wallpapering a ceiling is an especially grueling task when it comes to removing it. Because of this, deciding which kind of wallpaper you use for your drop ceiling tiles is crucial. The three kinds of wallpaper you will need to choose from are peel-off, pre-pasted, and traditional.
Peel-Off Wallpaper
Peel-off wallpaper is a perfect option when it comes to wallpapering your drop ceiling tiles. Peel-off wallpaper allows for an easy application and removal process. Applying peel-off wallpaper is made easy for those who do not want permanent wallpaper.
The only downsides to this wallpaper are that it is not as durable as traditional wallpaper and there are not as many to choose from. Although peel-off wallpaper may not be as long-lasting as the other kind, it is becoming increasingly popular because of how often you can replace it.
This wallpaper is not as long-lasting but it is great for when you wish to redecorate often. This wallpaper can be replaced frequently. Anytime you are looking for a new aesthetic in one of your rooms, you can easily peel it off and replace it with a different paper. In some cases, peel-off paper can even be reused if it has not been damaged.
Although peel-off wallpaper can be placed in any room with drop ceiling tiles, it is particularly popular in bedrooms for children. This is because it can be easily removed whenever the child has outgrown the current wallpaper. Because this wallpaper can be reused, you can save it for your other children who may want to use it.
Sadly, there are not as many options to choose from with peel-off wallpapers. However, certain websites allow for custom wallpaper if you are unable to find one that fits what you are looking for. This means that the sky is the limit when it comes to wallpapering your drop ceiling tiles!
Pre-Pasted Wallpaper
Pre-pasted wallpaper requires fewer materials than non-pasted wallpaper. This means that the overall price will be less expensive than if you choose the traditional option. Pre-pasted wallpaper has the same application process as traditional wallpaper, except you do not need to manually apply the paste.
Not needing to apply the paste yourself can be either a blessing or a curse. On one hand, no longer needing to apply the paste eliminates the possibility of getting excess paste everywhere when you start applying it. On the other hand, pre-pasted wallpaper does not last as long as non-pasted wallpaper. This may require more work in the long run as you will need to replace it more often.
Traditional Wallpaper
Traditional wallpaper is arguably the best option when it comes to wallpapering your drop ceiling tiles. Non-pasted wallpaper is a classic choice and will not be regretted. Traditional wallpaper will last the longest out of the three options.
Although there are many benefits to traditional wallpaper, it has its downsides as well. For example, if you ever need to remove it, you may find yourself with tedious work ahead of you. Because of its impressive durability, removing this kind of wallpaper is not particularly easy. However, it is not impossible. There are ways to make the process of removing wallpaper easier, so there is no reason to stress.
Any of the three options above will be great for wallpapering your drop ceiling tiles. Each method has its own unique pros and cons, so decide which method is best for you! Below will explain in detail how to apply traditional wallpaper to your drop ceiling tiles, as it is the most common and recommended method.
2. Repair Any Damages
Preparing the drop ceiling tiles is just as important, if not more, than the application of the wallpaper. By preparing the drop ceiling tiles properly, it will allow for the wallpaper to be as long-lasting as possible and will look more polished in the finality of the project.
To prepare the drop ceiling tiles, repair any damages. The most common type of damage in drop ceiling tiles is cracks. To avoid additional work, you will want to apply the wallpaper to the entire ceiling rather than applying the wallpaper to every individual tile. Applying the wallpaper to the entire ceiling is the easiest option.
Unfortunately, when wallpapering drop ceiling tiles, many people forget to repair damages, and then they are forced to apply the wallpaper to every individual tile.
To avoid the hassle of applying the wallpaper to every individual tile, fill any cracks you may have in your ceiling. Your ceiling needs to be completely smooth in order to apply wallpaper over the whole ceiling. Fill the cracks and sand down the area. This will save you unnecessary work and wasted time.
3. Clean The Ceiling
After repairing any cracks and other damages, clean the ceiling. You will want to start the wallpapering process with a clean and fresh area. To clean the drop ceiling tiles, there are three options:
- Scrubbing the ceiling with a sponge and water
- Scrubbing the ceiling with detergent
- Scrubbing the ceiling with sugar soap
Whichever option you choose to clean your ceiling, ensure to allow the drop ceiling tiles to fully dry before moving on to the next step.
4. Prime The Ceiling
The last step to preparing your drop ceiling tiles for wallpaper is to prime your ceiling. Apply the primer that works specifically with your choice of wallpaper.
Priming your drop ceiling tiles is important because it protects against damage if you eventually decide to remove the wallpaper. After applying the primer, allow it to dry for at least two days before proceeding with the wallpapering.
5. Apply Paste To The Wallpaper
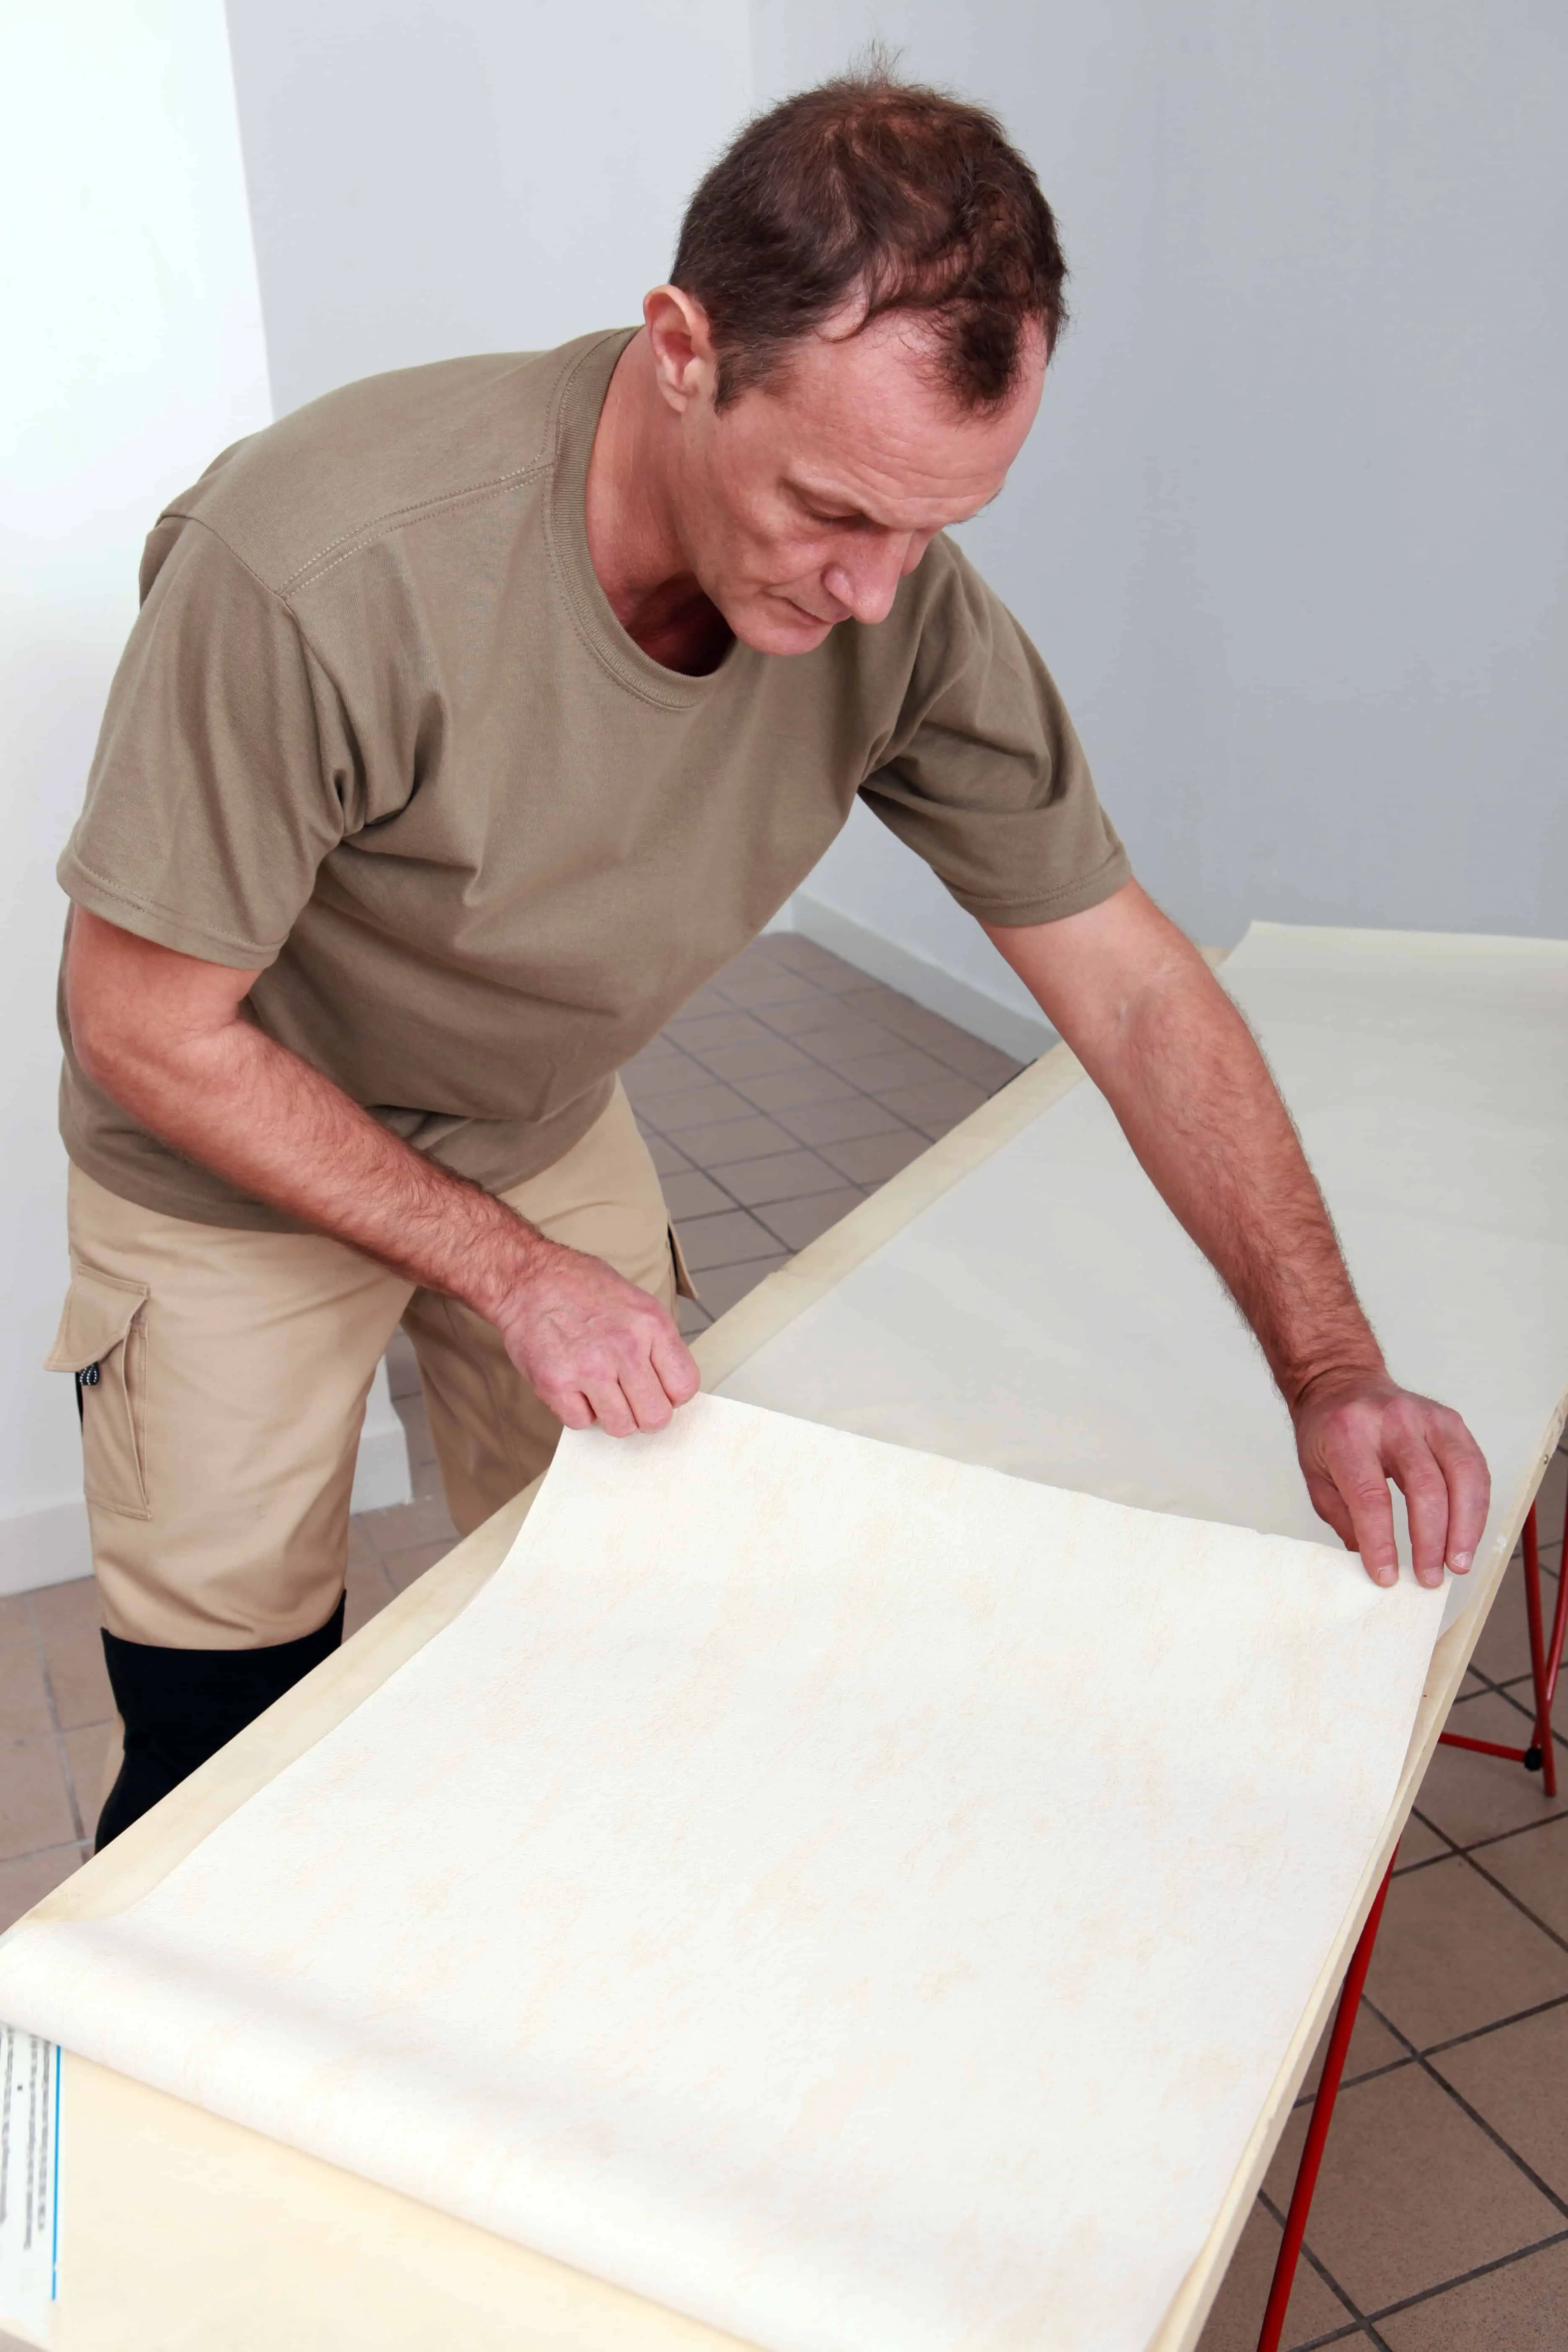
Now that you have successfully prepared the drop ceiling tiles, you are ready to begin working with the wallpaper. First, pour out the paste into a painting tray.
Second, use a paintbrush to apply the paste to the wallpaper. Ensure the paste has been evenly applied, without missing any spots. Specifically, check to make sure there is paste on the corners and edges of the wallpaper. Apply just enough paste so the back of the wallpaper is completely covered; do not oversaturate the paper.
The third step is to begin booking the wallpaper. Booking should be done immediately after applying the paste. To book, fold the wallpaper onto itself and allow it to sit for two to five minutes. By booking, it will allow the wallpaper to rest before applying it to the drop ceiling tiles.
6. Place The Wallpaper Onto The Ceiling
After you have applied the paste to the back of the wallpaper, the next step is to place the wallpaper onto the ceiling. Apply the wallpaper onto the ceiling by use of a ladder.
When you apply the wallpaper to your drop ceiling tiles, ensure you are doing so in straight lines. Otherwise, your final product will appear uncouth.
“It’s important to get the first length absolutely straight. Where the ceiling meets the walls are not usually straight enough to use as a guide. It is better to use a chalk line or use a spirit level to mark out a perfectly straight line to work from”.
GrahamBrown
7. Line Up The Seams
Applying the first strip of wallpaper is the easiest. After you have placed the first strip, you will now need to apply the other strips. It is critical to make sure the patterns line up with one another. Line up the seams to make the wallpaper look continuous. Once the pattern meets up, lightly stroke the wallpaper down.
8. Smooth Out The Paper
The last step to wallpapering your drop ceiling tiles is smoothing out the paper. Use a moistened sponge to remove any bubbles and excess paste. Use gentle strokes with your sponge to prevent creasing
Do not wait to do this until the wallpaper is completely dry. By attempting to smooth out any bubbles after the wallpaper is dry, you will likely cause creases to appear. For the best results, smooth out the paper as you hang it.