Plasterboard, also known as drywall or “sheetrock”, is what most interior walls of modern America’s homes are made of. It’s a cheap, versatile material, and surprisingly easy to tile over. Whether you want to add an accent wall to a room or do some repairs in the bathroom, tiling can be easily done with hardware store products. With some patience and planning ahead, you too can do a professional-looking job that will serve you well for years.
How To Tile Over Plasterboard:
1. Plan Ahead And Measure Correctly
Using a laser level, plot out exactly where your tiles will go and make sure they will be straight and flush with the walls. Make sure to factor in the use of standard wall spacers into your calculations, about 1/8 of an inch on all sides. Measuring your tiles exactly will help you know how to cut your tiles beforehand and save you later time and headache.
When purchasing your tiles, buy a few more tiles than you think you’ll need, just in case. Make sure you have all the personal protective equipment you will need, such as eye shields and dust masks. Dust masks are especially important if you plan to use un-mixed adhesive and/or grouting products.
2. Cover And Protect Surfaces And Outlets
Using tape, garbage bags, and tarps, cover all surfaces that will get messy or damaged. Both tiling and grouting are messy jobs, and accidents happen. Once both grout and tile adhesive are tried, they are difficult to remove and can damage your other living surfaces. Remove any outlet plates from the walls if you are tiling nearby or around them.
3. Prep Your Wall
Prepping your plasterboard will be slightly different depending on what condition it’s in. If there is any serious damage to your plasterboard, be sure to repair it and even replace the panel before you tile if the damage is serious enough. Placing tile over a damaged wall is a bandaid solution and won’t solve the real problem.
New, blank drywall:
When brand new drywall is concerned, it’s wise to use a primer as an additional protection measure. However, using a primer on drywall isn’t a must, and many people skip this step and get good results. Tile walls don’t see the same traffic as tile floors do, so indestructible wall tiles may not be a priority unless the tiles will constantly be wet.
That being said, I will always advocate for using a primer. Drywall is called drywall for a reason… Its cellulose casing and gypsum core suck up moisture quickly and can become damaged very easily. Wet drywall will bubble, crack, and even turn into total mush if left unaddressed.
When placing tiles right on top of the drywall, there is a chance that the drywall will suck the hydration out of your chosen adhesive before it can dry completely. This may cause your adhesive to be weaker and more prone to damage. Using a primer seals and protects drywall not only from outside moisture, but the mortar/adhesive being applied as well.
Previously tiled drywall
If you’ve tiled on the drywall before, make sure the area is smooth, clean, and free of dust. Be sure to sand down any textures and remove residual glue or cement. If the brown paper in the outer coating of the drywall was torn in the tile removal, be sure to prime it to prevent moisture damage.
Painted drywall:
Fortunately, it’s not necessary to completely remove all paint before tiling. If your paint has a glossy finish, sand it enough to take the shine down– this will help your tiles stick better. Remove any extruding wall textures that will cause the tiling surface to be uneven.
(NOTE: Make sure your paint contains no lead before sanding. Breathing in lead paint dust will cause lead poisoning, which can be extremely dangerous.)
4. Clean Surface And Remove Dust
Sanding and prepping your walls can leave quite a bit of dust and residue, that will cause your adhesive to be less effective. The cleaner the area is, the better the tiles will stick! Using a combination of microfiber towels and vacuuming, wipe down and dust the area to be tiled. Using a slightly dampened sponge also works well, but make sure the surface is completely dry before applying tile adhesive.
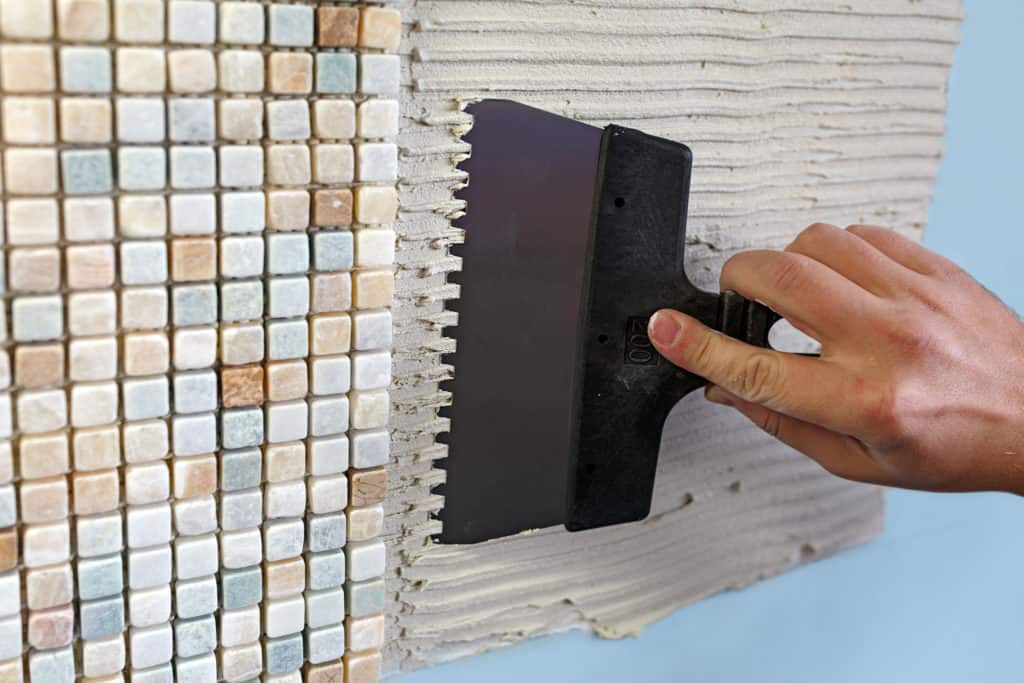
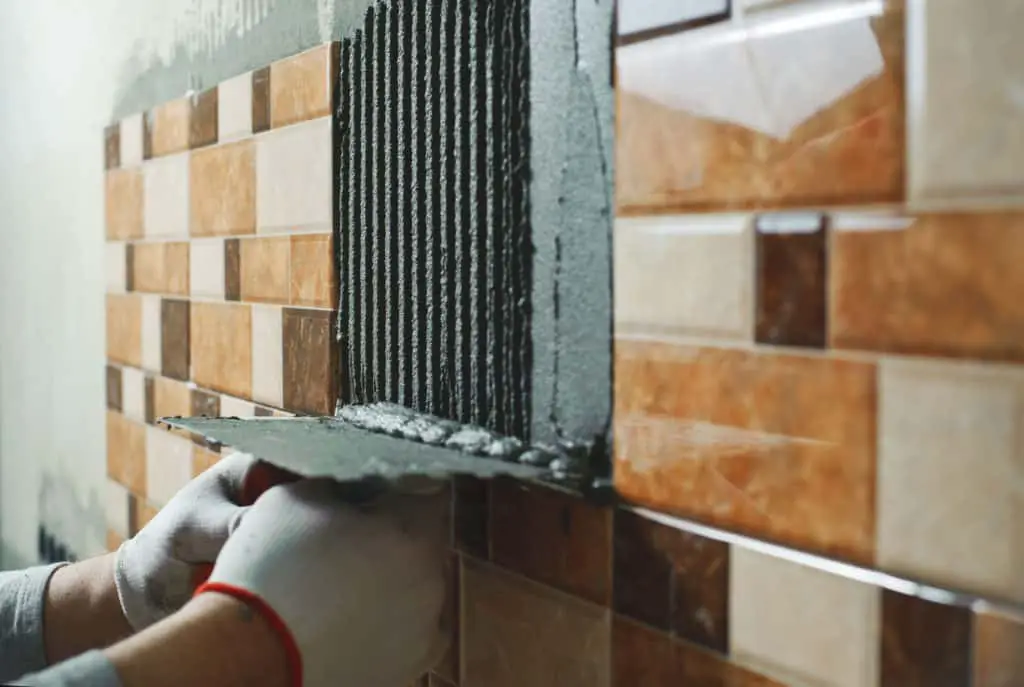
5. Apply Tile Adhesive
Using a notched trowel, spread your chosen adhesive on the wall or the backs of the tiles, being sure to not get it on the outer surface of your tiles.
There are two main options when it comes to choosing a tile adhesive: Tile mastic and tile thinset. Tile mastic is a thick, organic tile adhesive glue that usually comes in tube form. It dries quickly, sets strong, and because it comes in a tube, it can be reused with little to no waste. Tile thin-set is a sticking cement that is designed specifically for tiles and usually comes in a powder form that you mix with water.
Both of them work well for different reasons, and which one you need mostly depends on how much moisture the tiles will be exposed to on a daily basis.
If you’re applying a smaller number of tiles, you may want to go with tile mastic. It isn’t as strong and may begin to loosen under consistently damp conditions, but the tube can be reused and less product will go to waste. We recommend using tile thinset to get the strongest, most waterproof, and long-lasting job.
When using thinset, it’s better to spread it on the wall with the trowel, versus on the backs of the tiles themselves. Properly mixed thinset is about the consistency of soft-serve ice cream or peanut butter, and spreading it on the wall will lead to the least amount of mess. If you leave thin-set on the wall for too long, it will start to dry and won’t be as effective, so it’s better to go section by section and add more adhesive as you go, rather than applying the adhesive all at once.
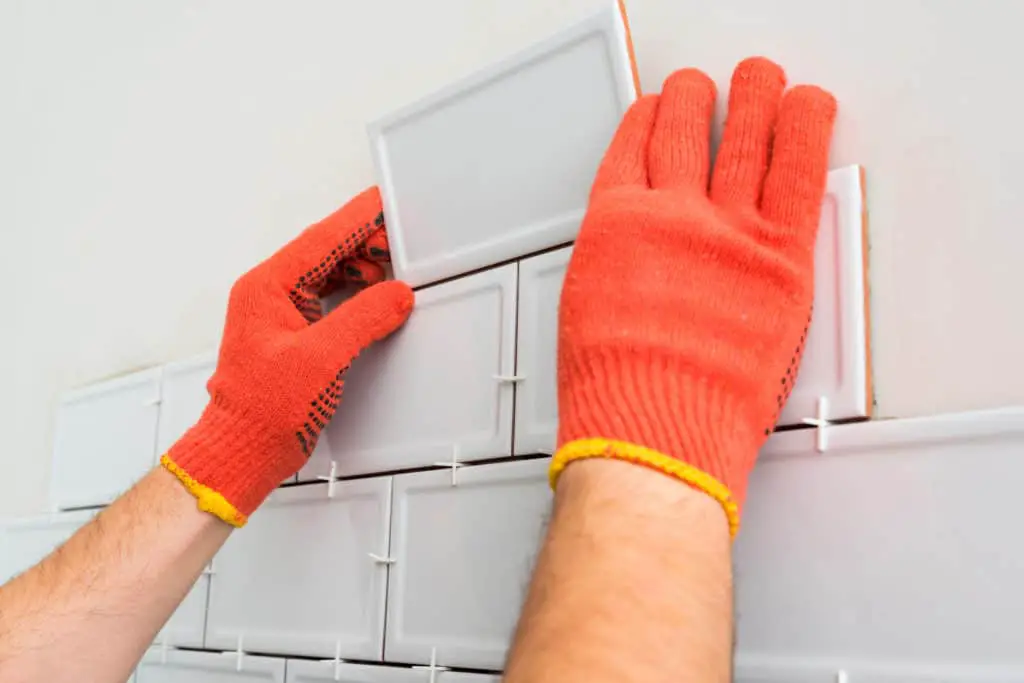
6. Apply Tile
Carefully place your tile on the wall without administering too much pressure; just enough to get it to stick. After each tile is in place, use at least two wall spacers per edge to align the tiles flush with each other. Using wall spacers will help your measurements to be much more accurate (as long as you have accounted for them), and the end result will look much better in the end. Gravity will cause the tiles to sink and collide with each other over the course of the tiling job, so be sure to keep the spacers in until the adhesive is completely dried.
7. Wait to Dry Completely
It may be tempting to use heat or other methods of fast-drying to hurry this step along, but slow air drying is the only way to truly cure the adhesive and make it as strong as possible. No matter what kind of adhesive you’re using, wait 24 hours to make sure it is completely dry before grouting.
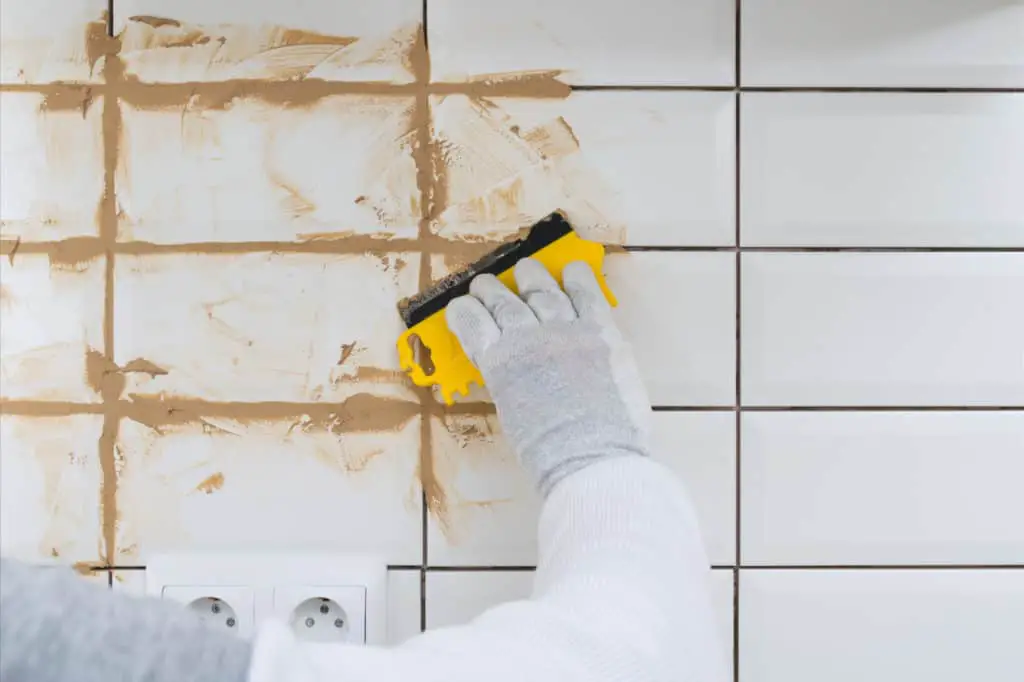
8. Grout
Once your tile adhesive is dry, clean and dust the surface of your tiles using your microfiber cloth and/or vacuum. If any adhesive can be seen in the cracks between the tiles that will prevent grout from getting in, use a spackling knife to carefully chip it out, without damaging the tiles.
Mix your grout powder with water until it is the consistency of peanut butter. If you don’t want to deal with the unmixed grout powder setup, pre-mixed grout also works well and can be purchased at most hardware stores. Using a grout float, remove your wall spacers and begin to grout over your tiles. Don’t worry about getting it smooth and perfect all at once– A few passes will ensure the grout is evenly spread. After your first coat of grout, begin to push the grout into all the cracks, keeping the grout float at a diagonal angle to avoid skipping and dipping into the edges of the tile. A good grouting job is even and consistent across all cracks!
After 5 minutes, you’re good to start sponging. Grout dries much faster than tile adhesive, so waiting too long after your initial pass to start removing it from the surface of the tiles will make it much more difficult to do so later on.
9 Sponge off Excess Grout
Take a dampened sponge (not sopping wet) and begin removing the grout from the surface of the tiles by using slow, smooth wiping motions. Be careful to just hit the top surface of the tile, and not dig into the cracks themselves, potentially ruining your grouting job. You will want to work quickly to prevent the grout from drying too fast.
Don’t try to completely clean the surface off at once… it’s better to re-dampen your sponge and go over it a few times.
At the end of the project, you’ll have a beautiful set of finished tile that will stick forever and last for years to come!