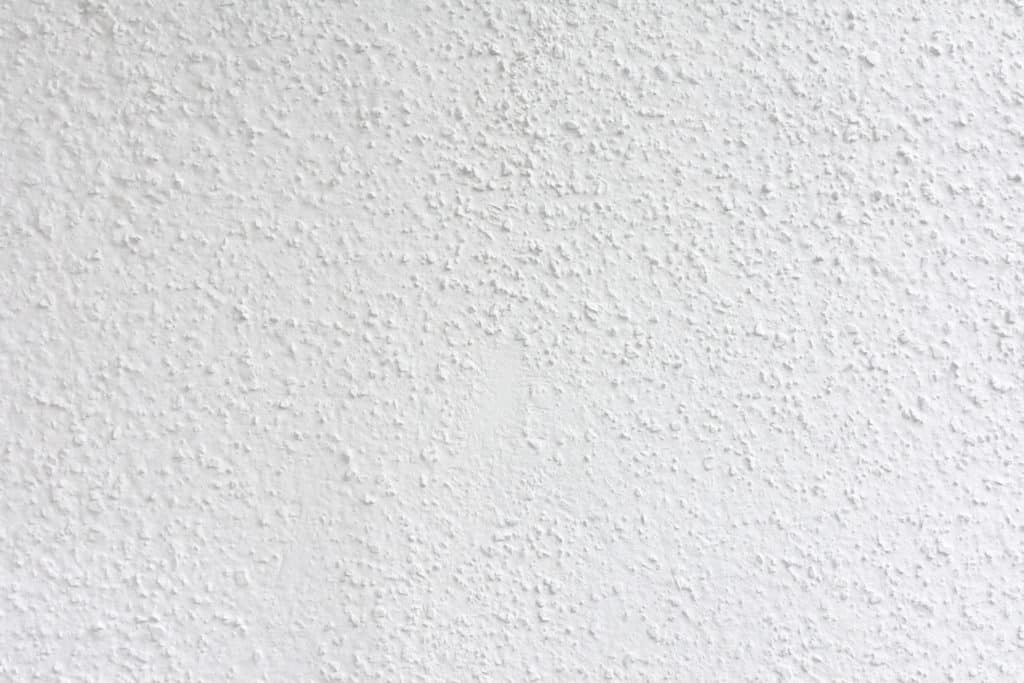
Texturing a wall can add some uniqueness and personality to your house that wasn’t there before. Texturing the walls, depending on your taste, can help your walls look better and add a homey feel. Uneven walls, however, can be a little tricky to texture. The process of texturing an uneven wall requires the same materials that it would take to texture a normal wall and there will be a couple of additional steps that you would have to take.
These steps that we will go over today will make the process take longer and be more tedious than a normal texturing job. The results, however, will be well worth the process of texturing your uneven walls.
Step 1: Gather The Materials
Without the proper materials, you won’t be able to do the job. You will always need a plan and materials to get a job done. So, for textured walls, you will need to know of a good place to get those needed materials. For an uneven texturing job, you would need more materials than you would’ve needed for a normal texturing job.
The materials that you will need include the following:
- A Trowel/Wide Puddy Knife
- Towels
- Water Bucket
- Vaccum
- A Level
- Joint Taping Compound
- Joint Compound Mixing Paddle
- Tarp/Floor Covering
- Hand-Held Sander
The best places to go would be Home Depot or Ace Hardware but can be found at any of your local hardware stores. Trips to one of these two stores, however, will save you time and give you the best materials possible to get the job done. They have the best of the best material-wise, so wouldn’t you want to have the best of the best to help you with this project?
Step 2: Clean The Work Area
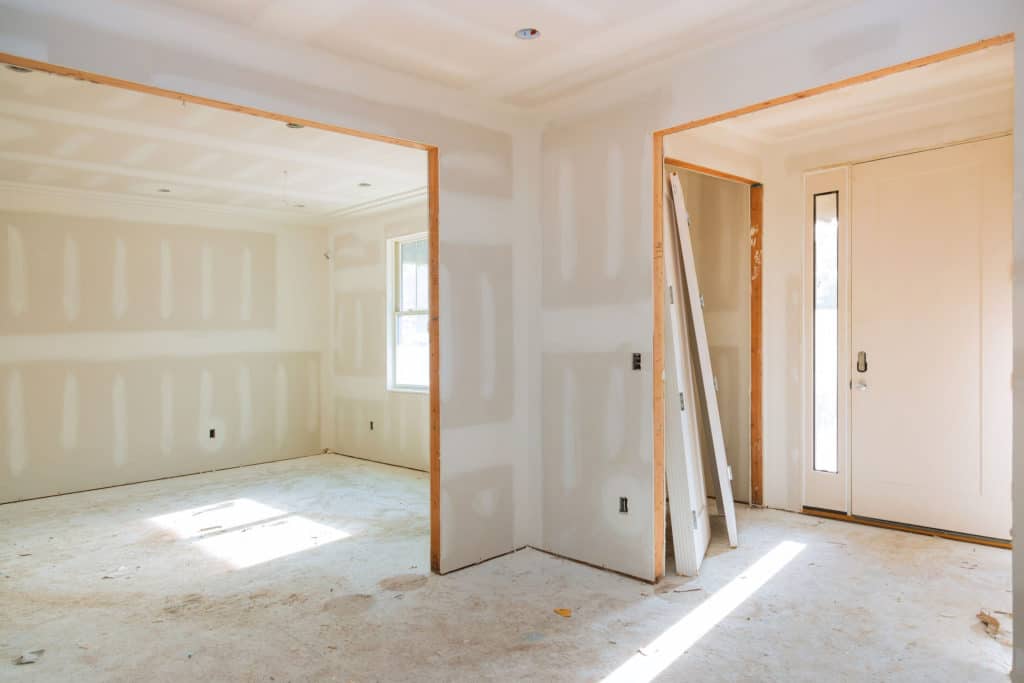
A good, clean work area can do amazing things! When the area is clean and free of clutter, it is shown statistically that you will have a higher rate of production. Whenever we take on a job we want to make sure to work to the best of our ability. So, it is essential for this job that you have a well-organized and clean work environment.
To do this, make sure that you have some sort of tarp or covering on the floor. This will help contain the mess that will happen when you texture the wall. Plus, it will be a quick and easy clean-up afterward.
When you have laid down the tarp or floor covering, you will clean the wall to make sure that it is in optimal condition to work on. To clean the wall, have a bucket filled with water and use this to wipe down the wall with a towel. You want to clean the wall and let it dry so that you can accurately level the wall and sand it down when necessary.
After you have wiped down the wall, use a dry towel to wipe down the wall to make sure that the wall is completely dry. When you have done this, you’ll be able to go and start leveling the wall.
Step 3: Level The Wall
Since your wall is already uneven, we need to see how uneven the wall actually is. You will need to level the wall at various points on the wall to make sure where to focus our efforts on where to even out the wall. Take time to take pieces of painter’s tape to mark the areas that need to be sanded the most.
In turn, this will help us to be able to see how much we will need to sand down the wall. Doing this will also show us how much time we will need to take for sanding. Sanding down the wall will give us a surface that will be easy to work on and will help us to level out the wall.
Step 4: Sand The Wall Down

You will need to sand the entire wall you want to texture, so make sure, on the even areas to sand lightly and the more uneven areas to sand a bit more. Usually, sanding is meant to help you prepare to paint a wall, but with the wall being uneven, the best option would be to sand down the wall. A hand-held sander will give you the best results and will make the job easier for you.
Make sure to focus on areas and not apply the sander too much. When you sand too much, the job will take even longer because you’ll be stuck trying to even out the entire wall. So, you need to be patient with the sanding process, and as gentle as you can be. This will help you with time and efficiency to get the job done as soon as possible.
Step 5: Clean The Wall
After you have sanded the wall and it is level, it is time to prep for texturing your wall. You will do this by cleaning the wall you just sanded for a second time. This will be done by doing the same thing as you did last time that you cleaned the wall. By wiping down the wall with a wet towel and cleaning off any sawdust left on the wall, it will make sure that the texture will effectively apply to the wall. Then, dry off the wall with a dry towel until it is completely dry.
This will make sure that you are working on a clean surface and no sawdust will be found on the wall after you are finished texturing the wall. If sawdust was left on the wall and you did texture over it, it will ruin the look that you are trying to achieve for your wall. So, make sure to clean the wall better the second time than you did the first time.
Step 6: Mix Your Texturing Compound
After you have left the wall completely dry and clean, we can start to think about applying the texturing compound. Before we can do this, however, we need to mix the compound to make sure that it works properly.
We will do this by adding either a small or the recommended amount of water to the texturing compound. The measure of water will depend on how much compound you have.
After you have added the necessary water to mix properly, you will then start to mix the compound and water with a joint compound mixing paddle. You will mix the two together until you have a mixture like thick pancake batter.
Step 7: Apply The Texturing Compound
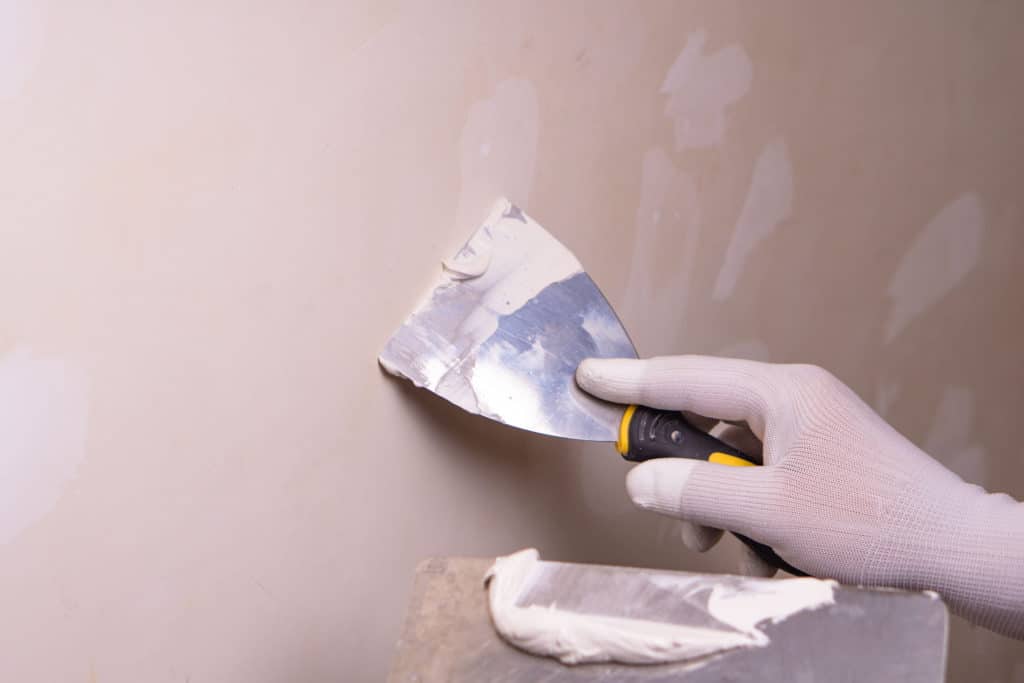
With your compound mixture getting to the consistency of thick pancake batter, we are ready to start applying the texturing compound. We will do this by using your trowel or wide putty knife and start to lather the compound onto the walls.
Apply the compound in a consistent and even manner. You don’t want too much of the compound in one place on the wall and to not have it be evenly distributed. If you do see that there is too much in one place, just wipe it away and start applying again.
This will be the most time-consuming and difficult part of the entire process, so take your time. You should probably set aside an entire day for this part of the project so that you can focus your efforts on applying the necessary amounts of compound needed.
Step 8: Dabbing And Pressing With A Sponge
When you have the compound applied, you will need to dab or press on the compound to make sure it has a textured look and feel to it. I would suggest doing this each time after you have applied the compound. You will want to press or dab lightly so that you won’t spread the compound unevenly.
Doing this will help you have the textured effect that you desire and will prevent the compound from drying. If you let the compound dry before you go and press or dab the sponge on the compound, it will mess up the look and texture that you wanted on the wall.
Step 9: Let The Compound Dry
After you have the desired layer of compound applied, and you’ve pressed and dabbed the compound to give it that textured look that you want, it is time to let it dry. You will want to let the compound dry for about 24 hours. This will allow the compound to settle in properly and prevent having to come back and touch up on the wall.
Step 10: Paint
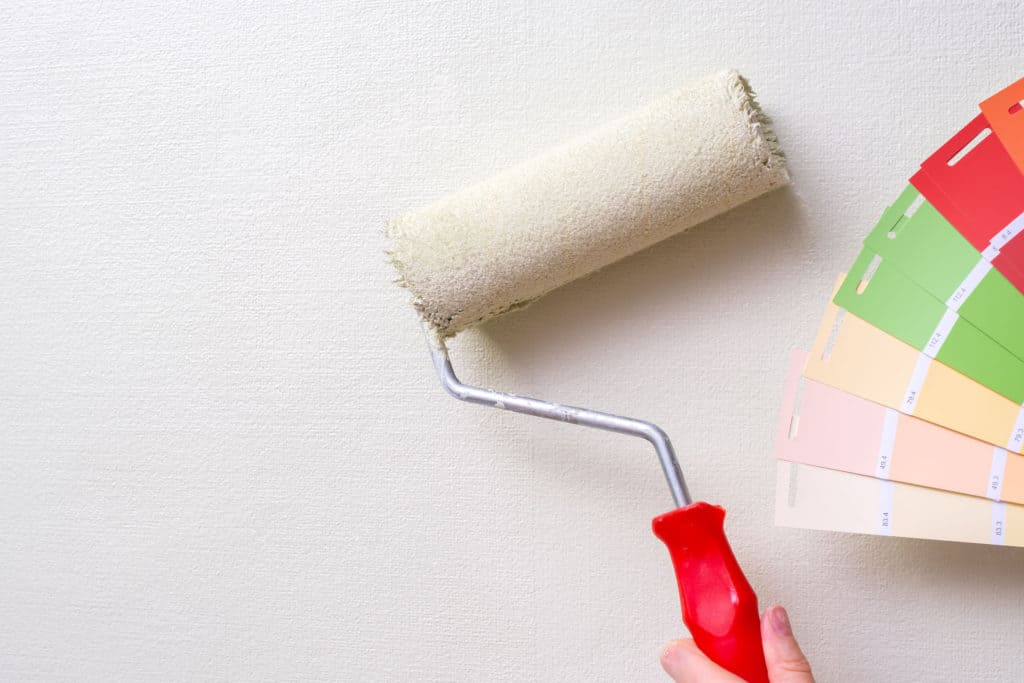
After the compound has dried and settled in, you are able to paint the wall. It is very important that you have the right materials for this part of the project. I don’t know anyone who would want a wall just covered in the texturing compound for everyone to see.
So, plan and get the materials needed to paint. You might as well just get those needed materials whenever you go to purchase the equipment to texture the wall. Evening out your wall to get to the point of painting will take a little bit of time, so just be patient with the project and everything will turn out great.
