Removing a popcorn ceiling can be dangerous and time-consuming. Covering it up with ceiling tiles is an easy and quick alternative. Here are 7 steps to get it done.
1. Gather Materials
- Ceiling tiles of your choice
While the tiles you get are completely up to you, there some things that you’ll want to keep in mind when making a decision, like, price, material installation, and weight.
- Adhesive or screws
You will either need one or the other depending on how you want to install your ceiling tiles. How heavy the ceiling tiles that you’ve chosen will also determine which route for installation you go. Some ceiling tiles will too heavy for the adhesive to work and will therefore require screws.
There is a third option that involves installing a grid just below your ceiling, that will allow for tiles to be placed into a spot, but that is extremely more difficult and costly.
- A Compass (if your lightboxes are round)
This is only a necessity if you have round lightboxes. A compass is a measuring device that allows the user to make perfect circles with an adjustable diameter. If your lightboxes and vents have straight edges then you will be just fine with a measuring tape.
- A Measuring tape
This is a necessity for finding the center of your ceiling and cutting tiles. When installing ceiling tiles, you will want to be as precise as possible for the best outcome, and using a measuring tape will allow for exactness.
- Screwdriver (or drill with a bit)
This is only necessary if you are screwing your ceiling tiles into place, instead of using an adhesive. Honestly, using a drill will be much easier and efficient than using a screwdriver, especially since the screws will have to go through the tiles and your ceiling. However, a screwdriver is still sufficient.
- Something to cut with
The best option for cutting your ceiling tiles is a box cutter since it will give you the most control and can make the smallest and most precise cuts.
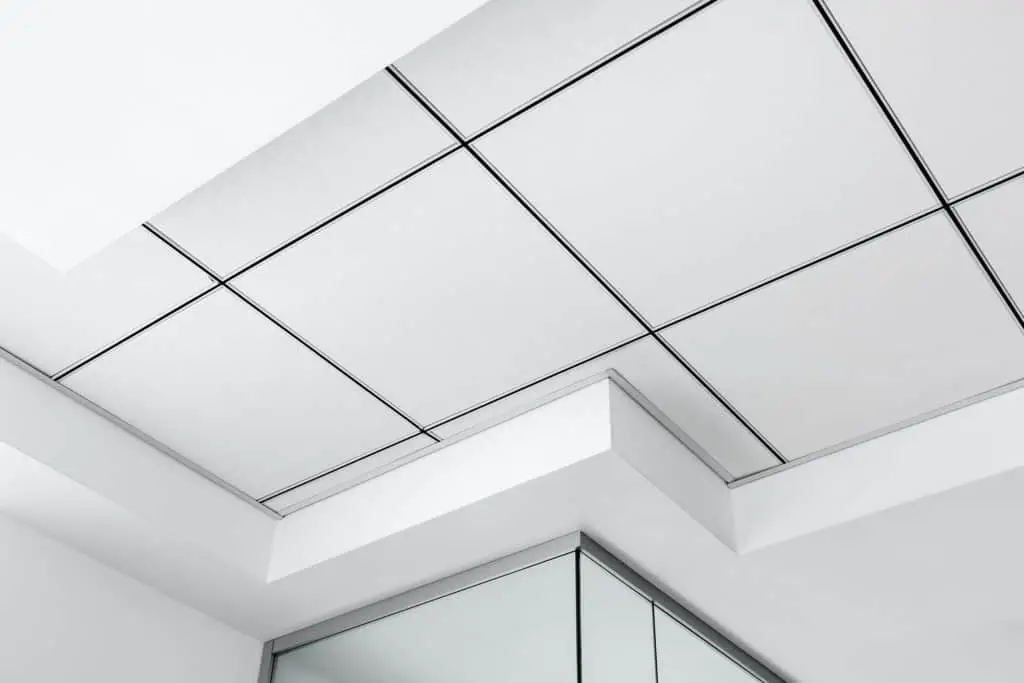
2. Choose A Tile
There are tons of ceiling tiles to choose from. Just at The Home Depot alone, there are over 300 options. Knowing what material you want and what style you want will help you narrow things down.
Ceiling tiles come in several different materials, including styrofoam, PVC, metal, wood, fiberglass, and fiberboard. Each of these different materials has its own pros and cons that you should be aware of when deciding which type of ceiling tile you will use.
It’s also important to keep in mind that no matter what type of ceiling tile you install, there will be maintenance required. This will be just a simple cleaning, though the types of cleaning products that can be used, will be determined by what material the ceiling tiles.
Styrofoam
While this type of ceiling tile is the cheapest it is also the cheapest quality. Styrofoam tiles are extremely light, which makes them easy to install with adhesive. They are also easy to cut which will make it easy to cut out holes from vents and lights. However, they are extremely easy to tear and destroy. This may not bother you though, especially considering they are going on your ceiling where they will not be touched.
Cleaning Styrofoam tiles should be as simple as wiping them with a duster.
PVC or vinyl
This is also one of the cheaper types of ceiling tiles and is also extremely light. This type can be installed with an adhesive which makes for easy installation and is easy to cut. Though this type does not tear as easily as styrofoam tiles do, vinyl is susceptible to bending and creasing, so you will want to wary of that while installing.
Cleaning PVC ceiling tiles just takes some soapy water and a rag.
Metal
Using metal tiles is a great way to give your room an antique look. When it comes to price they are about the same as PVC ceiling tiles. They are a bit heavier and will need screws for installation. Though they can be creased and damage, it is a lot hard to do on metal tiles than PVC.
Cleaning metal ceiling tiles is a little tricker as it requires knowing what type of metal your tiles are made with. Different types of metal will react differently to certain cleaners, so make sure you do your research.
Wood
This type comes in real wood or faux wood. Though faux wood is cheaper than real wood they are both the most expensive option for ceiling tiles. They are also the heaviest and will require screws or nails for installation. However, they are the most durable and are sure to look nice for years.
When cleaning your wood ceiling tiles, you will need to use a cleaner specifically made for wood. You may also want to use a wood polisher on it every once and a while to keep the wood looking nice and bright.
Fiberglass
Fiberglass is most commonly used as acoustic ceiling tiles, which is a specific type of ceiling tile that is used to absorb sound. While it is not as expensive as wood, it is more expensive than the other types of ceiling tiles. It is also extremely lightweight and flexible and can be installed with adhesive or screws.
Fiberglass ceiling tiles will be extremely easy to clean as all they require is some soapy water and a rag.
Fiberboard
Fiberboard is the cheapest of all the types of ceiling tiles and is also the most unattractive. They also are extremely easy to damage. Though they can cover up your popcorn ceiling just as well as the other ceiling tiles, We would recommend splurging a little for something that is better quality.
When it comes to cleaning fiberboard you may want to only wipe it down with a duster or you can gently wipe it down with soapy water.
Now that you have your ceiling tiles and other materials it’s time to actually begin covering your popcorn ceiling.
3. Remove All Light Fixtures
Before you start installing your ceiling tiles, you should take down any light fixtures and vents. This is a necessary step as you cannot install your ceiling tiles until this has been done.
4. Find The Center Of Ceiling
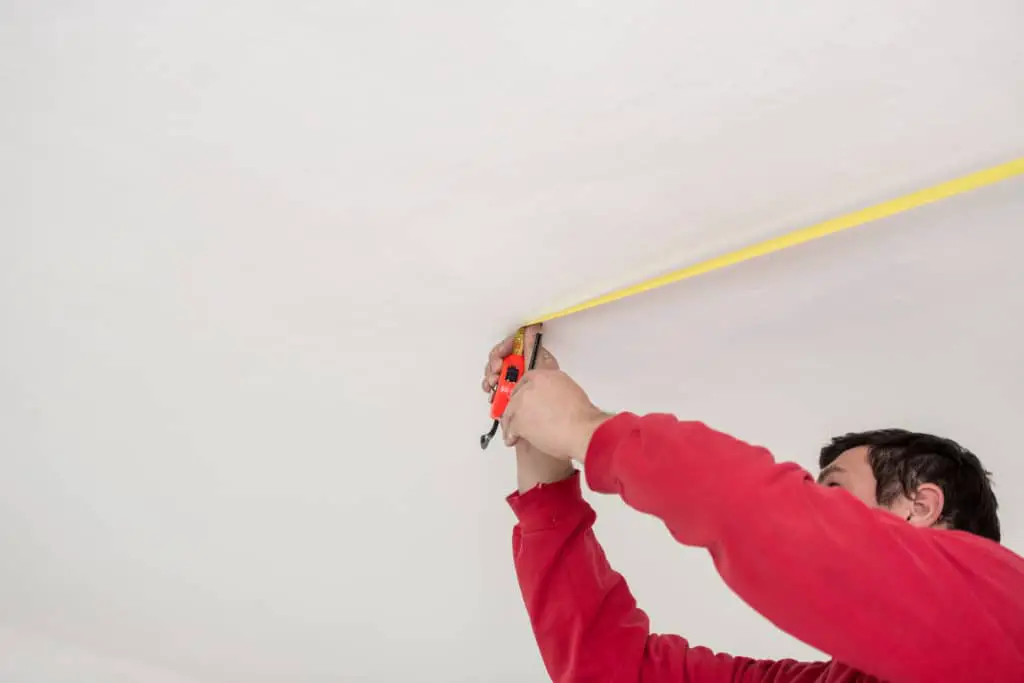
You will need to measure each of the walls and then, using your measurements, find the center of the room. It is important that when making measurements you are as precise as possible. The center of the ceiling is where you’ll start placing the tiles so, go ahead and mark the spot on your ceiling.
5. Do Any Measuring And Cutting
Installing the ceiling tiles will be pretty simple, however, you’ll have to make cuts in your tiles for the vents and lights. This is not too complicated, but you will need a reference spot for measuring so that your cuts can be as exact as possible. This may require that you make these necessary cuts as you’re installing your ceiling tiles.
You must start installing your tiles in the center of the ceiling as step four instructs, because as you work your way towards the outer edges of your ceiling you may notice that you will have to cut the outside pieces so that they will fit nicely along the wall.
6. Install Ceiling Tiles
How you install your ceiling tiles is completely dependant on the type of ceiling tile you have chosen. Unless you have chosen a type that can be installed in multiply ways, then it is completely up to you.
If you have decided to use an adhesive then apply the adhesive to one piece at a time and then place that piece. You’ll have to hold the tile in place for a short time to ensure that it sticks.
If you’ve decided to screw the tiles into place, then hold the tile in place as you drill the screw into place. Make sure that you are holding the tiles firmly so that it does not slip as you’re screwing it.
As you are installing the tiles, you will want to be sure to make sure that every tile lines up perfectly as you can get it.
While you can do this all on your own, it may be helpful to have someone help you install the tiles.
7. Reinstall Light Fixtures
Once all of your ceiling tiles are in place you can go ahead and put all your lights and vents back in their place. Your fixtures should cover the edges of your tiles so that they are hidden.
After you have reinstalled your light fixtures and vents, then your ceiling is finished. You can now enjoy your new ceiling and will never have to worry about the popcorn ceiling hidden underneath it again.
If you are still unsure of how to install ceiling tiles, here is a video from Ron Hazelton showing the process we have explained above. In this video, he uses PVC ceiling tiles and shows how effortless it can be to install them. Though, PVC is what he is using, does not mean that is the best type of ceiling tiles for your project.
At the end of his video, he also installs some crown molding around his ceiling. This is purely a design choice he has made and you can too, however, it is not necessary for installing ceiling tiles.