When painting a house with a stucco exterior, it is essential to prime the walls before painting them. There is a list to follow to know how to best complete this project. Priming then painting stucco is necessary, but many people wonder if priming is one key aspect of painting stucco.
1. Check The Weather
I cannot think of a more crucial step. Since stucco is used on the outside of buildings, it is salient to make sure the weather will not come along to ruin the hard work you are putting into painting your house or whatever else you are painting.
Stucco will need time to dry, so depending on the area you live in, choosing to do so during the very end of summer/beginning of fall will give the best weather you can have for painting. The weather will be cool enough for you to be outside and be comfortable.
2. Cover Windows, Doors, Trims, And Vents
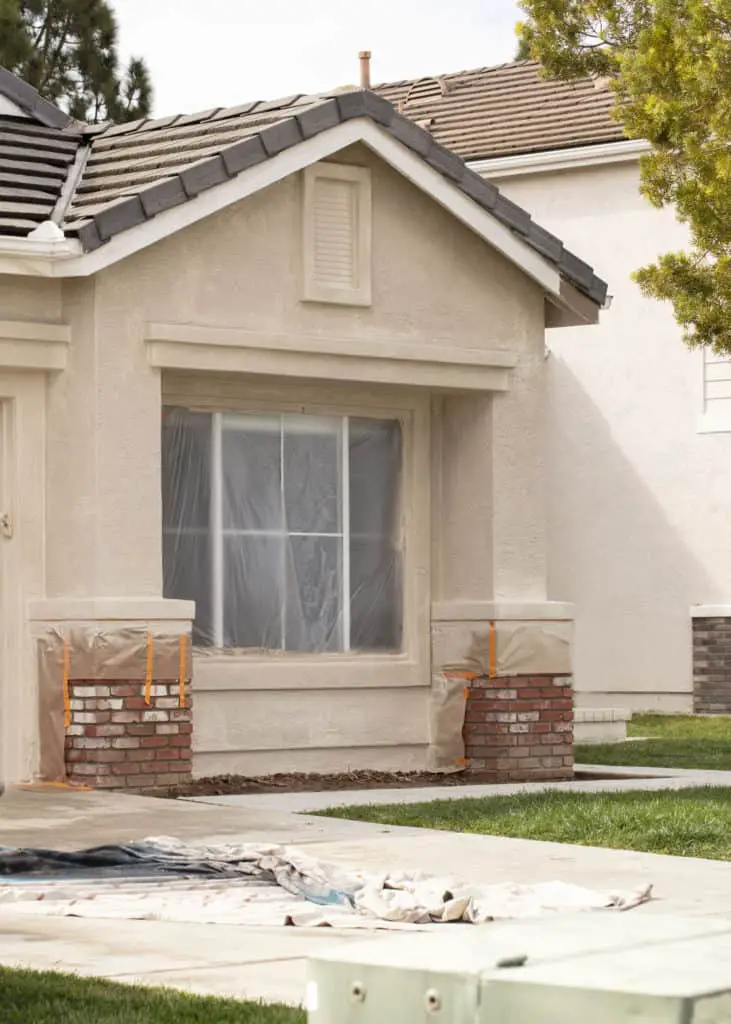
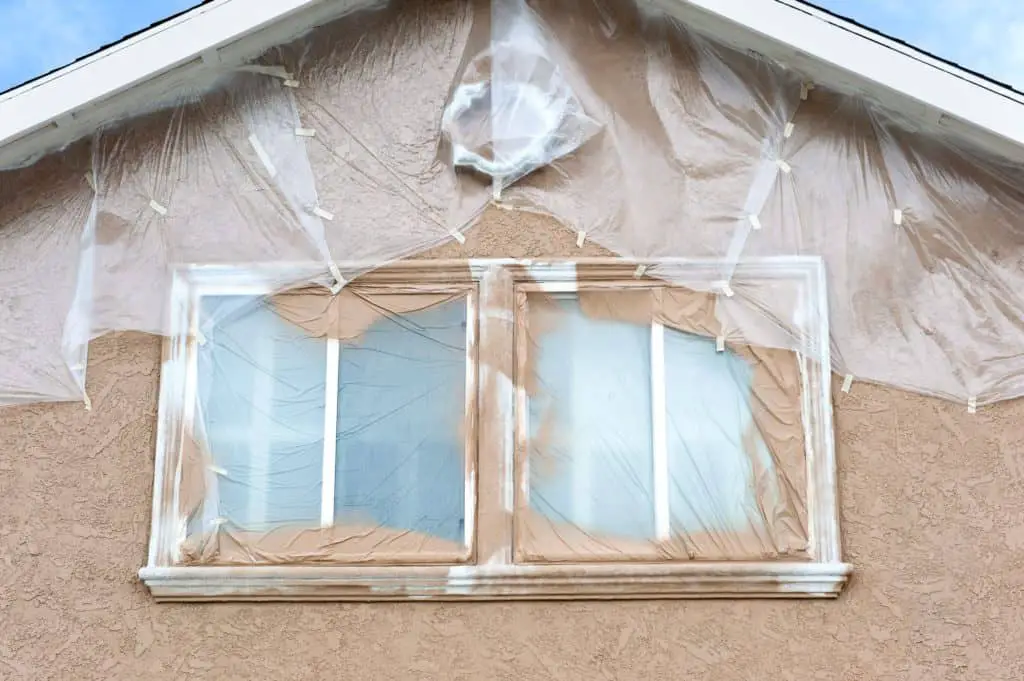
Covering windows, doors, trims, and vents is paramount in ensuring you do not accidentally paint something you do not want to paint. You can do this by using painter’s tape or putting coverings over each of these things to make sure you do not have to fix an accident later on.
While covering windows, trims, doors, and vents, make sure neither tape nor tarps cover the edges of where you want to paint. I experienced this painting rooms in my house where the tape barely went over where we did not want it and it leaves that area unpainted.
You may not notice it right at the moment, but I still find parts of my walls that are not painted the exact way I want them to be. For this reason, it is good to spend a decent amount of time covering what you do not want to be painted.
The same will go for making sure everything that you want to be covered is covered properly. It would not be good to start the job only to realize the tape is falling off and so you have to recover that area to prevent paint from coming in contact with that area.
3. Check For And Fill Cracks
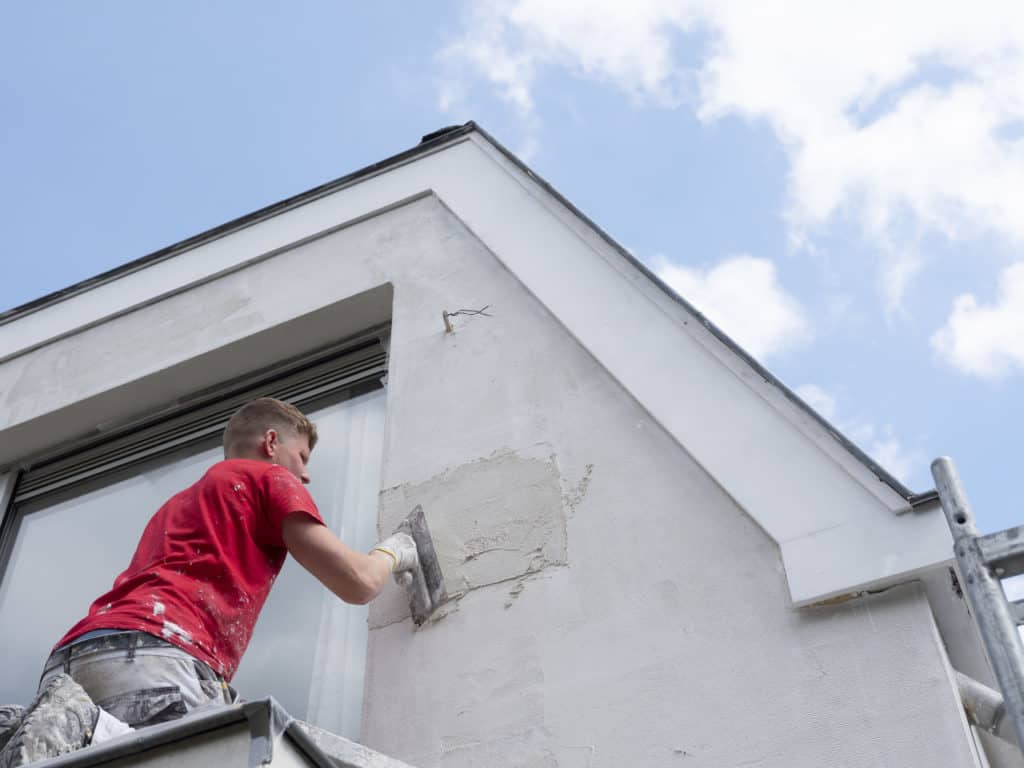
It is important to look for cracks to fill. You can fill the cracks and fix the stucco by buying caulk. You will simply mix in water and apply it to where the cracks are. If the caulk gets onto a surface it is not intended for, simply wipe it off with a wet rag.

4. Clean The Walls
After filling the cracks, allow time for the caulk to set before trying to clean the exterior of your house. This will allows time for the caulk to set correctly and not risk being washed off when you clean the house.
Cleaning the walls is an important step to applying primer to stucco because the primer will not stick to the stucco properly without being clean. You can use a hose to clean the walls. Using a pressure washer can further damage the walls, and the guck will come off the stucco with just a garden hose.
Cleaning the stucco will also help the primer and eventual paint have a better final result.
5. Use The Primer To Cover The Walls
When priming the walls, you will not need to worry about the stucco drying before you prime it because the stucco will naturally absorb the water. With a roller, apply primer to all of the areas you plan on painting. The primer will prevent the stucco from absorbing the paint.
There are multiple primers sold, but the best primer for stucco is an acrylic primer. Acrylic primers assist the paint in sticking to the stucco. Because the acrylic primer is meant to stick to uneven surfaces, the paint is consequently able to stick to the primer better.
6. Wait For The Primer To Cure
After applying a primer to the stucco, it will need to sit for around 2 weeks before you can paint it. While the standard cure time is 30 days, you can paint on stucco after even just a week. After a week, the stucco has regained most of its strength back but allowing it more time will help the stucco grow stronger and be ready to help the paint stick to the stucco without absorbing it.
7. Paint The Walls With A Roller Or Sprayer
After the primer has cured, you are all ready to paint the walls. This can either be done with a sprayer or a roller. Do not paint on the exterior of your house with a brush unless you are doing detailed patchwork. Painting stucco with a brush can result in an uneven paint job and will take too long.
The benefit of using a sprayer or a roller is that you can finish the job much faster and the coats will be applied much more evenly.
When painting with a roller, you will not need to be as cautious as you would need to be with a sprayer. Sprayers have tremendous amounts of force behind them, so you must tape down every edge of the plastic. Without being taped down, the coverings can blow away and cause you to paint something by accident.
Make sure to use a shield while using a sprayer. This will help you not hit sidewalks and other things with your overspray. Overspray can be frustrating, so using a shield just in case is a good preventative measure. Also, make sure you did step 2 with covering windows and trims.

8. Paint A Second Coat
Before painting another coat on your house, allow for adequate time for the first layer you applied on the house to dry completely before you begin another coat. When painting a second coat on your house, ensure you are making even strokes since this could very well be, and most likely is your last coat.
If this is not the last coat, wait for the second coat to dry before adding another layer of paint. This can help prevent the paint from looking messy once everything is said and done.
9. Uncover The Windows, Doors, Trims, And Vents
After completing the painting project and after the paint has dried, remove all of the coverings you put over the windows, doors, trims, and vents. You can throw everything away. If the tarps you used are in good condition, you can save them for future projects, but the tape will not be reusable.
Why To Prime Stucco Before Painting
It is important to prime stucco before painting it because stucco is a material that sucks in moisture. If you were to begin a paint job on a material that just absorbed moisture, there would be many more coats of paint applied by the end because you are fighting against the stucco itself.
Another reason to prime stucco before painting is that the primer will hide any dark marks that could not be removed with the garden hose. Depending on the strength of the primer you use, you can better cover problem areas.
