Turning your ceiling fan into a chandelier is much easier than it sounds. Here are nine steps telling you exactly how to do it.
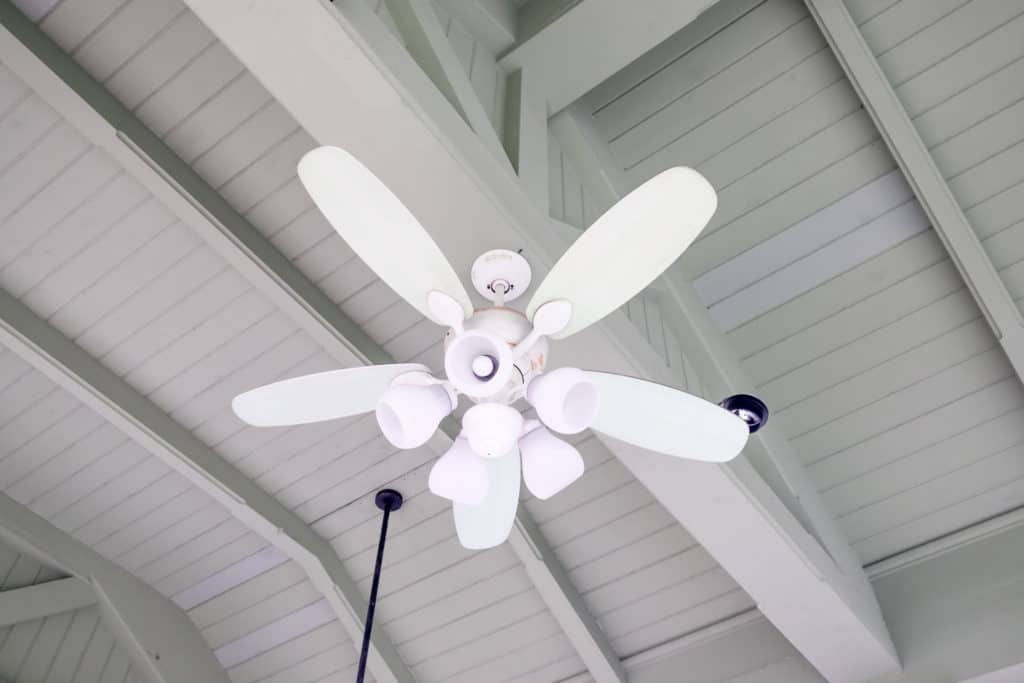
1. Pick Out A Chandelier
This step is not as simple as it sounds. While it is important that you pick out a chandelier that you like and fits your style, there are lots of other components that you will have to keep in mind as you pick out a chandelier.
To turn your ceiling fan into a chandelier you’re going to need a ceiling fan light kit. This kit is essential as it is what will physically allow the fan to be turned into a light.
The tricky thing about this is that not all light kits will match up with every ceiling fan. Even light kits that claim to be universal, may only be universal to ceiling fans from the same manufacturer. When picking out a ceiling fan light kit you must be sure the kit will be compatible with your ceiling fan.
Another thing to think about when picking out a light kit is lumens. This used to have a similar meaning to wattage. Wattage used to be more frequently used to refer to the brightness of the lights and the amount of energy used by the lights. However, over time, LED lights have become more efficient and overall wattage has gone down.
However, just because the amount of energy we use is going down, that does not mean that we want the brightness of the bulb to go down. That is why we have started using lumens as a reference a lot more recently, strictly just to refer to the brightness of bulbs. When choosing a light kit you will want to be aware of its lumens rating.
Note: You may also be tempted to go cheap when purchasing a ceiling fan light kit as they can get pretty expensive. This will most likely not be worth it. A cheap price will come with cheap parts that may not work, fit, or may simply not look nice. We recommend not spending less than $100 on a ceiling fan light kit.
2. Gather Supplies
In addition to a ceiling fan light kit you need to make sure you have the following:
- Wire nuts
When it comes to purchasing wire nuts, you must purchase the right size. Purchasing the wrong size of wire nut can potentially start a fire. Usually, the packaging that wire nuts come in explains that brands sizing guide, so be sure to look at that when deciding which size to choose.
- Wire strippers
These will be needed to strip the insulation off of the wires to expose the actual wire when you will attach them.
- A compatible screwdriver
Which screwdriver you will need to use will depend entirely on the ceiling fan light kit that you have chosen. You may have to read the instructions to see which screwdriver they recommend.
- Compatible light bulbs
Your ceiling fan light kit should tell you in the instructions which light bulbs are the most compatible with the kit, that is if there are no light bulbs included in the light kit.
3. Turn Off Electricity
First, you must turn off the electricity to the fan by flipping the breaker in the breaker box. This is extremely important! It is not enough to just flip the switch in the room. For your safety, you want to make sure that absolutely no electricity is running through the wires in the ceiling fan.
All houses have a breaker box and your breaker box will most likely be in a closet, in the basement, or the garage. If you cannot find it in these places then you will need to do some searching.
Once you have found it, go ahead and open it. There should be rows of switches, each with a label. Hopefully, the labels are clear and you can easily find the breaker attached to the room with your ceiling fan. If not you may have to try each breaker until you find the correct one.
If you are still not sure as to how to do this, we’ve included a video from Deco Bliss. This video shows a breaker box, so you can see what it looks like and how to use it. In your case, you will only need to flip off the breaker that is labeled with the room that your ceiling fan is in.
4. Remove Fan
After the electricity to the fan has been turned off, you can completely remove the fan from the ceiling. Though removing the fan from the ceiling is not necessary, doing this will make it a lot easier to work on the fan.
When removing the fan try not to tug on any of the wires or tear them. Carefully untwist them till they are loose and easily break apart. They should be color-coded, but if they are not then you should note which wires were attached for reinstallation later.
5. Remove Fan Cover
Your ceiling fan should have a decorative plate that covers the wiring in the fan. Go ahead and unscrew the plate and remove it, exposing those wires. Your ceiling fan should have a black wire and a white wire. These are the wires that you will need to attach to your light kit.
6. Attach Chandelier Wires
Your light kit should have corresponding black and white wires. You’ll want to make sure that you attach the two wires from the light kit to its corresponding wire in the fan.
To do this:
- You will need to use wire strippers to strip about 3/4 of an inch of insulation off the wires.
- Hold the wires next to each other so that the bare wires are aligned.
- Place the wire nut over the wires and push into the wires while turning the nut counterclockwise
- Continue to do this until the nut is tight enough that you cannot turn it anymore. Also, no bare wire should be showing anymore.
- Try lightly tugging on each wire to make sure it’s not loose enough to come out. If a wire does come out, then you’ll have to pull the nut off and start over.
- Once all the wires are secure, go ahead and screw the light into place.
Below is a video that shows how to do the procedure we’ve explained above. You will notice that there are some small differences. For example, they strip one whole inch of insolation. We suggest only stripping 3/4 of an inch but ultimately it is up to you.
In the video, they also twist the wires together before inserting them into the nut. You can also do this if you wish, but most wire nut instructions won’t tell you to do this and we recommend following the instructions that come on the packaging.
7. Replace Fan
Once your light kit is securely attached to your ceiling fan you can return the fan to its place on the ceiling. Make sure that all wires have been securely reattached to their corresponding wires before you screw the fan back in place. Wires should be attached with wire nuts, even if that is not how they were attached before.
Once you have returned the fan, make sure it is securely screwed into place before you let go of it and walk away. There would be nothing worse than to watch your brand new chandelier crash to the floor.
8. Install Appropriate Bulbs
Your light kit may come with light bulbs. In the case that it does not, you will have to purchase bulbs that are compatible with the kit. The instructions that come with your kit should tell you what size, wattage, and lumens of bulbs will be the most compatible for your light kit. This step should be fairly simple as you should just have to simply screw the light bulbs in.
If your new chandelier has covers for the light bulbs those should be installed before the bulbs. There are numerous ways that light covers are installed and how you do it for your chandelier will depend entirely on the ceiling fan light kit. You will need to refer to the instructions of the kit to make sure they are installed correctly.
9. Test The Chandelier
Once everything is screwed into place and secure you can go ahead and flip the breaker in the fuse box again to turn the electricity back on again. Once you have done that return to your new chandelier and flip the switch in the room to test for light. Try also running the fan to make sure everything is in running order. If everything works, then congrats! You have just turned a ceiling fan into a chandelier all on your own. Go ahead a enjoy your handy work.
We’ve also attached this video from ArcadianLighting, showing the procedure of installing a ceiling fan light kit that we’ve explained above. Though they do not go as in-depth as we did, hopefully, you will be able to see some of the parts that we mentioned above.