There are options that involve fixing the whole wall, but this is a more fun, cheaper way to mask a flawed wall.
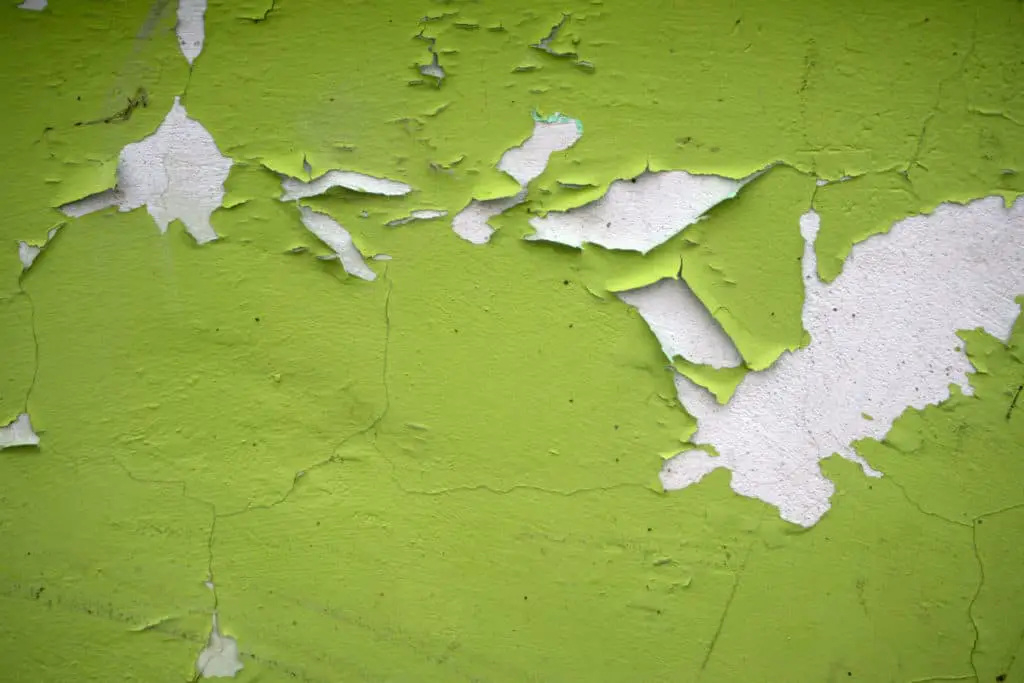
1. Assess The Damage
First and foremost, you’ll need to look over your wall and see what it needs. Maybe there are cracks or holes. Perhaps there are a number of small nail holes or there’s some discoloration in the wall. Maybe it just looks dingy and needs a makeover.
No matter the reason, you’ll need to decide the extent to which you will need to repair your wall before you begin to apply your wallpaper. This first step is crucial because the condition of your wall will determine the outcome of the wallpaper. Meaning, if you start with a sticky, holey wall, your paper will not adhere properly and your result will not be what you wanted.
2. Fix What You Can
Depending on the needs of your wall, take putties and scoring tools over the surface of your wall to patch up any imperfections.
The whole point of papering a full wall is that you can’t fix everything, but fixing what you can will help the wallpaper adhere to the wall better.

Remove screws, patch holes, do what you can to perfect the wall to the best of your ability. It’s not going to be perfect, but the smoother the better.
Most importantly, patch up the areas of the wall where there is substantial damage. Using a spackle and a putty knife, or your finger, fill any hole in the wall. Once the spackle has dried, sand down the area so that it blends in with the wall. Afterward, you can touch up the paint. If you’d like to skip this step, as you’ll be papering over the spot, you may.
If there are large cracks or holes, be sure to fill and seal them. There are many different kinds of cracks that can occur in drywall. Once you have assessed the depth and severity of the crack, you can determine if it is a repair you can do yourself, or if you need to contact a professional for help. The biggest advantage of professional help is that they’ll have all the tools you’ll need, which will save you money on the project.
3. Select Your Paper
Your job will be most effective if you choose a paper with texture, bright colors, and/or dramatic patterns. The busyness of the paper will better hide the imperfections in the wall.
A new coat of paint or plain wallpaper will not hide the imperfections as effectively because there will not be a texture or pattern to mask any bumps or preexisting roughness.
There are several kinds of wallpapers to choose from, but you’ll likely want to choose a traditional wallpaper over peel-and-stick or prepasted. Traditional wallpaper is the best option because it is thickest and most textured, whereas peel-and-stick and prepasted wallpapers are flat and smooth.
4. Smoothen The Repairs
After your putty or a new coat of paint is dried and cured, you might need to sand the area down or wipe unwanted substances off. Do this now.
Make sure that you sand and smoothen the patch so it is as flat as possible against the wall. While you might have unwanted texture, you don’t want to add to it any more than you have to.
5. Prepare Your Wall
Cleaning your wall is a crucial step in preparing to hang wallpaper. Regardless of the state of the wall that you’re trying to hide, it needs to be clean so that you can better apply the wallpaper.
To do this, wipe off any residues or dirt buildups that might be on your wall. You can use a vacuum, extending duster, or tack cloth to dust the entirety of the wall. If there is any stickiness, you can use chemical cleaners to gently remove the substance.
6. Gather You Materials
Because you will likely be hanging traditional wallpaper, you will need a few more tools than if you were hanging peel-and-stick or prepasted paper.
- Enough wallpaper for the area you’ve chosen: you want to be able to cover everything
- Wallpaper paste: you can find this at any paint or hardware store
- Paste brush: to apply the paste
- Roller brush: to smooth the paper against the wall
- Measuring tape: make sure you have the correct measurements for placing the paper
- Pencil: to mark the starting and ending parts of your paper, as well as the width of each strip
- Space for pasting: you’ll want ample space to brush the paste onto the back of the paper
- Scissors: for cutting the big strips
- Knife: for slicing off the ends of the paper at the edges of the room
- Stepladder: to reach the top of the wall
- An extra set of hands/eyes: assistance will make sure the job goes smoothly
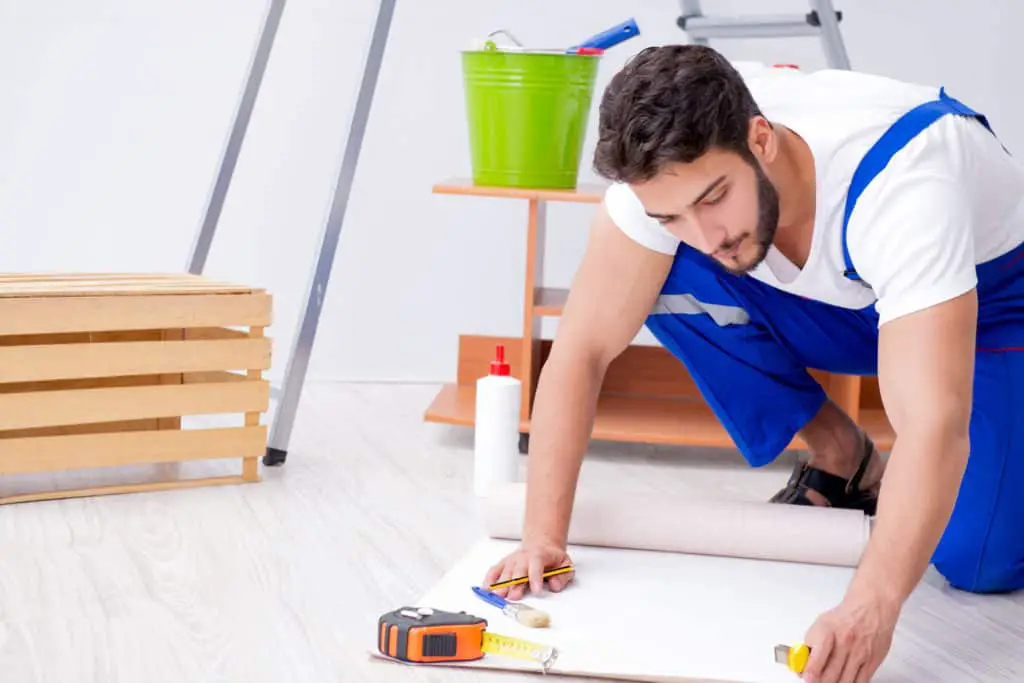
7. Cut Wallpaper
Measure and cut the paper to your needs. You likely figured out how much paper you would need when you were planning, but double-check to make sure you have enough to cover the full area without any blank spaces.
If you feel more comfortable, you can measure and cut as you go. Especially if you have enough wallpaper, this will help ensure that your lines are straight and that the pattern lines up.
Remember: measure twice, cut once!
8. Apply The Paper
After measuring and cutting, it’s time to start hanging. Have at least another person help you during this process. You will need to apply the paste to the back of the paper, line it up, and then press it to the wall. An extra set of eyes and hands can help you keep the paper aligned as you are placing it.
Alignment is especially important in patterned paper. You want to keep it as close as possible to keep the visual precise and not any more distracting than it needs to be.
If you get to a corner that you need to cover, use two strips to cover the whole corner. Cut one strip with at least one inch of excess, folded into the wall. Next, lay the other strip over the excess. With this technique, you will be sure to cover the whole corner, without risking blank space on your wall.
9. Decorate
If you find that your wall still seems uneven and oddly textured, you can use pieces of furniture to better hide the imperfections and distract the eye to something other than the bumps in the wall.
To achieve this, you can use hutches, end tables, or bookshelves. On top of those pieces, you can add picture frames and other small decorations to cover the wall.