Are you looking to tile your bathroom? Cover up that ugly green latex paint that came with the house?
You can tile over latex paint, just be sure to sand it first. The bond of the tile to the surface will be as strong as the paint’s bond to the wall. If your paint is peeling off, you’ll need to remove it before installing the perfect tiles.
Let’s explore how you can prepare your walls for tiles!
Tiles On Paint
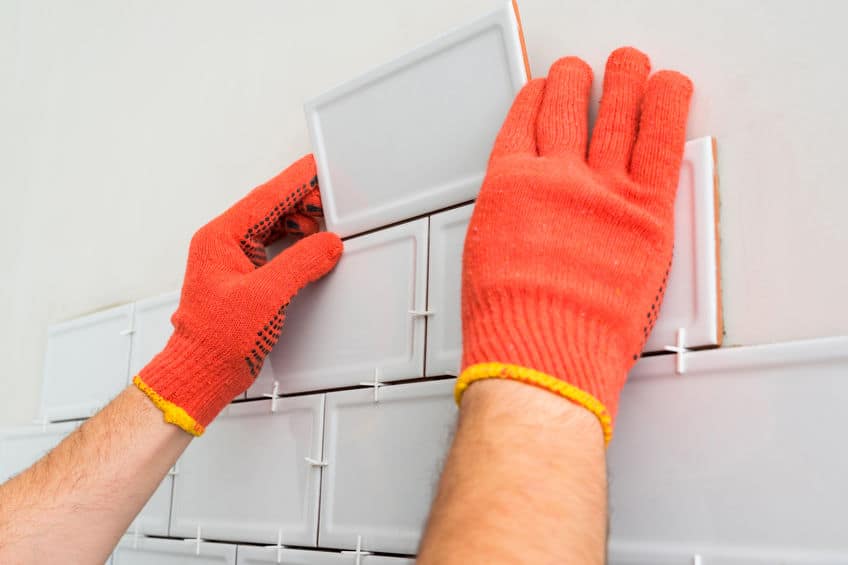
Rule #1: Remove any peeling paint. If your paint is peeling, you must scrape it off before installing tiles. Otherwise, the tiles will not stick very well to the wall, even if you do have a strong mortar. The flaking paint will cause the tiles to fall shortly after installation, which is not what you’re going for. It doesn’t matter what type of paint it is, flat, high-gloss, low-gloss, or latex, the flaking paint has got to go.
That said, if your paint is not peeling, all you need to do to prepare the wall for tiles is to sand it down. For any type of paint, sanding is required before tile installation. The rougher texture created from the sanding is going to help the tiles bond better to the wall, ensuring that the tiles will be on your wall for a long time. Use 80 grit sandpaper to sand down the paint so that it is not glossy anymore and has a slightly rougher texture.
When sanding, be sure that the area is all uniform, that there are no inconsistencies or large bumps and divots. Once finished sanding, wipe down the wall and vacuum any dust. A clean wall is going to be the best for tile installation.
On Wallpaper
Does your bathroom have that obnoxious green and yellow flower wallpaper? Are you getting sick of looking at it? Well, you can take care of that by installing tiles!
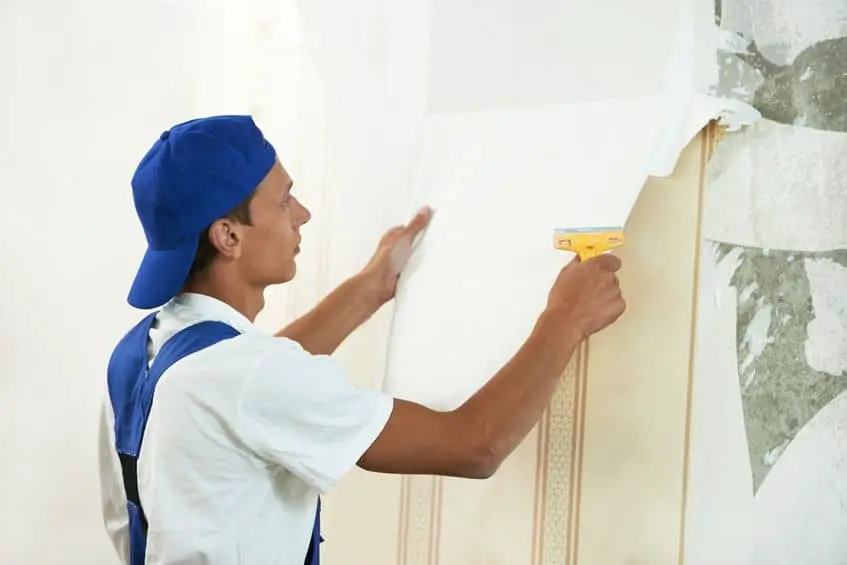
However, do not install tiles directly onto wallpaper. Wallpaper is not the strongest material attached to your walls and installing the tiles onto it will create problems for you in the future. Problems like tiles falling off your walls. Yikes! You will need to remove the wallpaper before you put in those fresh, stylish tiles.
The first thing you can try when removing wallpaper is using a putty knife to scrape and peel it off. If you find the edge of the paper, it may be as simple as lifting it up with the knife and peeling it off the wall.
Other wallpaper may be more difficult to remove depending on how long it has been on the wall and how it was applied. Another way you can remove wallpaper is using hot water combined with fabric softener or vinegar. Mix 1/4 fabric softener with 3/4 hot or 1/3 vinegar with 2/3 hot water. Simply spray the solution onto the wallpaper and scrape with a putty knife. The solution should reactivate the adhesive, causing the wallpaper to fall away from the wall. Easy-peasy!
Now that you have removed all the wallpaper, you can begin tiling!
On Textured Drywall
Instead of ugly green paint, are you looking to cover up an ugly texture? Don’t worry! You can definitely cover up your textured wall with tiles!
Like tiling over paint, you are going to need to smooth any texture on your drywall. Any large, rough texture that is not removed before installing tiles will make it difficult for the tiles to stick to the wall evenly. You may end up with an equally ugly, bumpy wall instead of a smooth finish covering up the ugly texture.
Before grabbing the sandpaper, first, use a putty knife or a trowel to remove the largest areas of texture. Then, using medium-grit sandpaper, 80 grit is best, smooth down the texture. You do not want an entirely smooth wall. A little bit of roughness is great! That will help the mortar bond better to the walls.
If you’re looking for other ways to get rid of a textured wall, here are some more ideas, from sanding, to skim coating, and more!
On Other Tiles
Perhaps you’ve got no paint, wallpaper, or texture walls to worry about, but you do have an atrocious checkered tile on the backsplash of your sinks. Not to worry! You can install tiles on top of those ugly black squares!
Tiling on other tiles can be tricky. One thing to be aware of when installing tiles onto already existing tiles is that this is going to make your wall thick and your wall may not be able to hold that much tiling. It may be easier to remove the tiles and start from scratch.
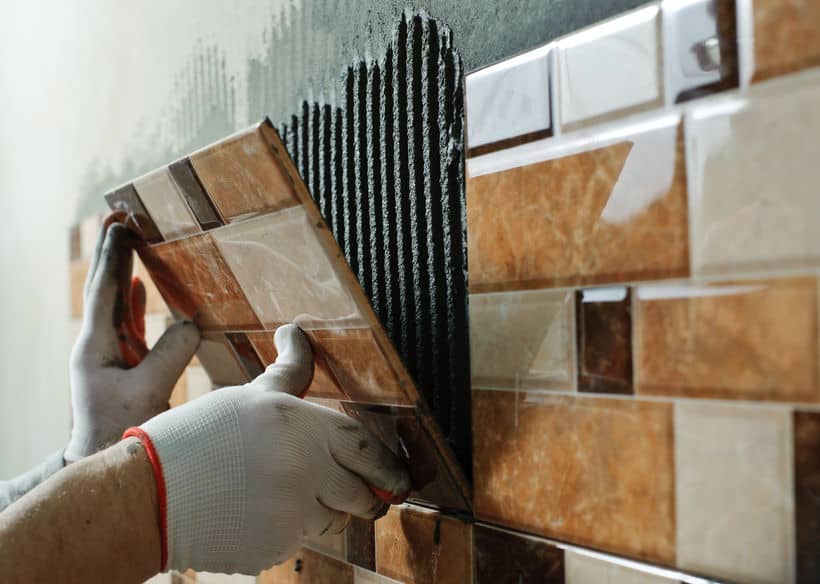
If the tiles are not thick and you believe your wall is strong enough (Whoo! Go wall!), then your first step is to repair any damage. Fix any loose tiles and fill in any cracks. Just as was stated before, covering up damages with the tiles is not going to help your new tiles last.
Next, clean the tiles, specifically of oil and grease. Now, you may not have any oil or grease in your bathroom to worry about, but if you’re looking to tile in your kitchen, then there will undoubtedly be oil and grease to wipe down. Vinegar is great when cleaning oil and grease!
Now that your existing tiles are repaired and sparkling clean, you’re ready to install some new, stylish tiles!
Tips & Tricks
Tip #1:
Before installing any tiles, be sure to fix any cracks or holes in the wall first. Covering up damages with tiles is not the best idea. It can cause the tiles to fall a lot sooner than sticking them to a painted wall that has not been sanded. Fix those cracks and holes with spackle before tiling.
Tip #2:
Place protective coverings in the area where you are working. Lay down some drop cloths, tape around baseboards, remove the light switch and outlet covers, and tape over bare wiring. This will ensure that you don’t get any dust from sanding or mortar from tiling where it shouldn’t be.
Tip #3:
Oh, look! Another article about tiling! *wink wink* This article is full of more great ways you can prepare your wall for tiles.