Are you wanting to stain your MDF beadboard but you are worried about ruining it? If so, then keep reading below! It will tell you everything you need to know before you start staining.
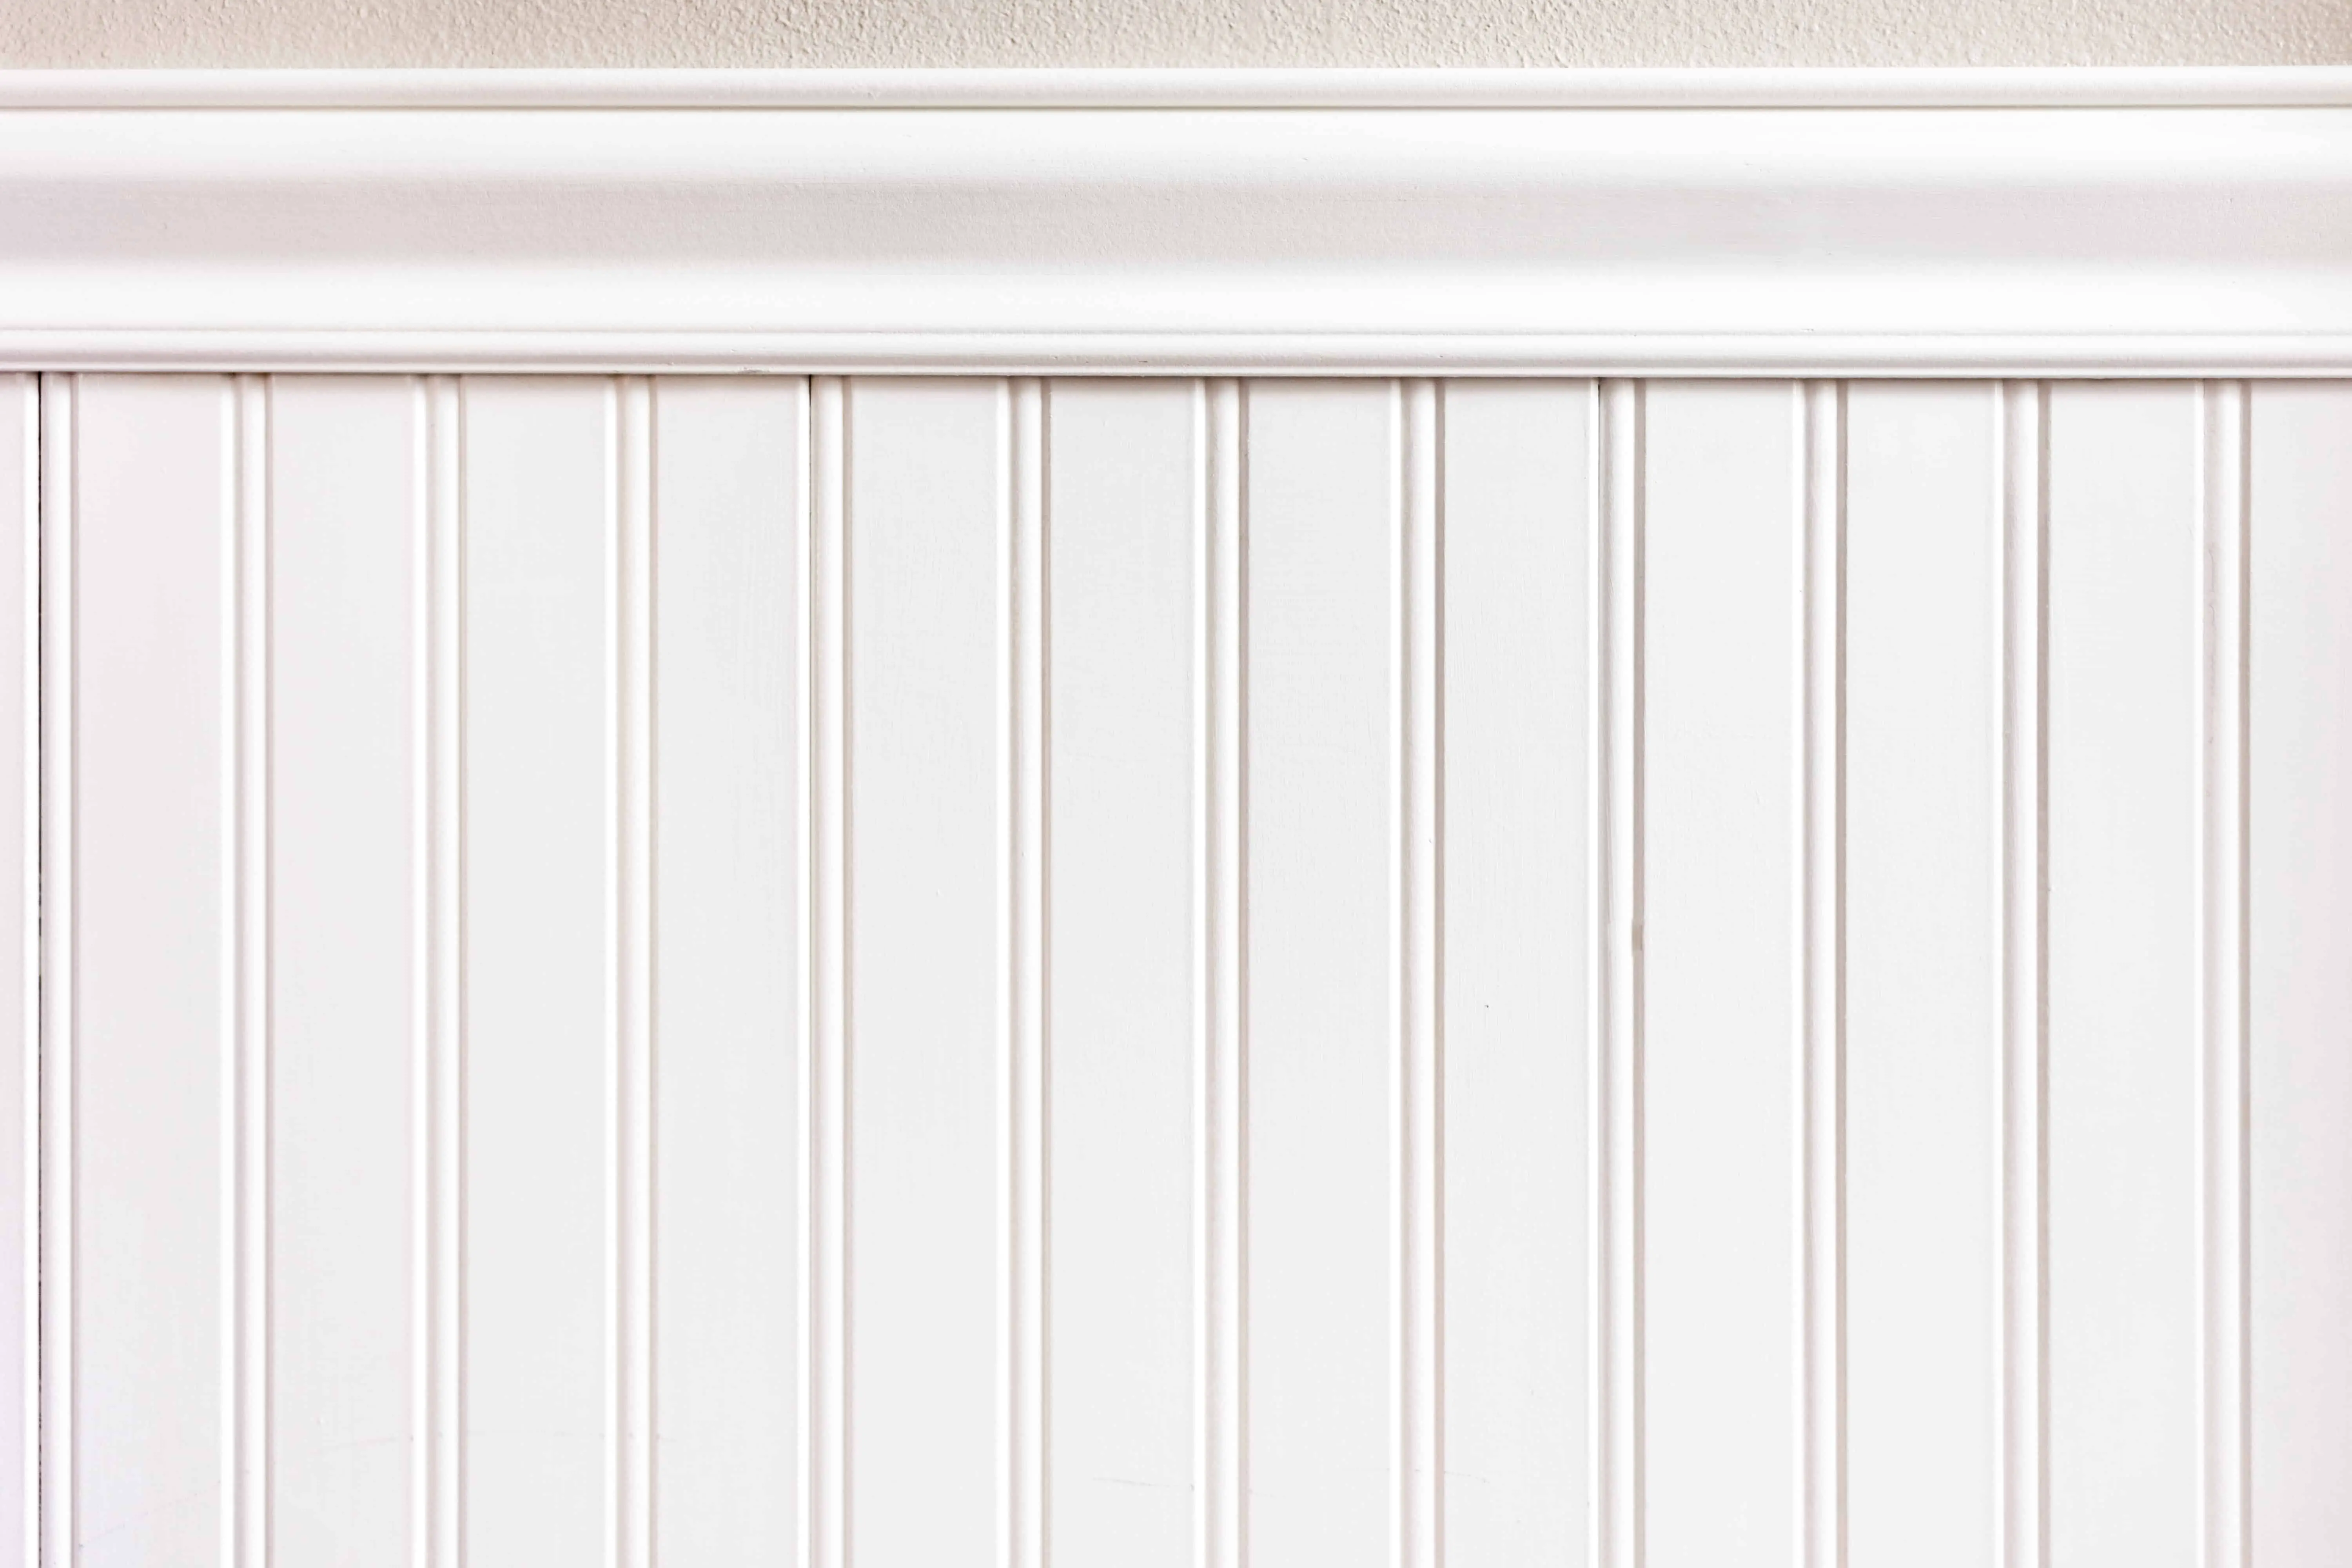
MDF beadboard can be stained without being ruined. Staining is done to change the color of the MDF beadboard and to preserve its naturality. To stain the beadboard to prevent damages, gather needed materials, sand and clean the beadboard, apply an oil-based wood conditioner, and applying the stain.
Now that you can be confident in staining MDF beadboard without ruining it, you still may not want to. Depending on the look you are wanting in your home, other methods such as paint may be more desirable. Below will explain whether or not you should stain your MDF beadboard, and exactly how you can go about doing so.
Should I Stain My MDF Beadboard?
Fortunately, staining MDF beadboard does not damage it. The stain should be used when you wish to change the color of the beadboard in order to have it match the aesthetic of your home. When you decide to stain, it will soak into and penetrate the MDF beadboard, thus changing the color and enhancing details.
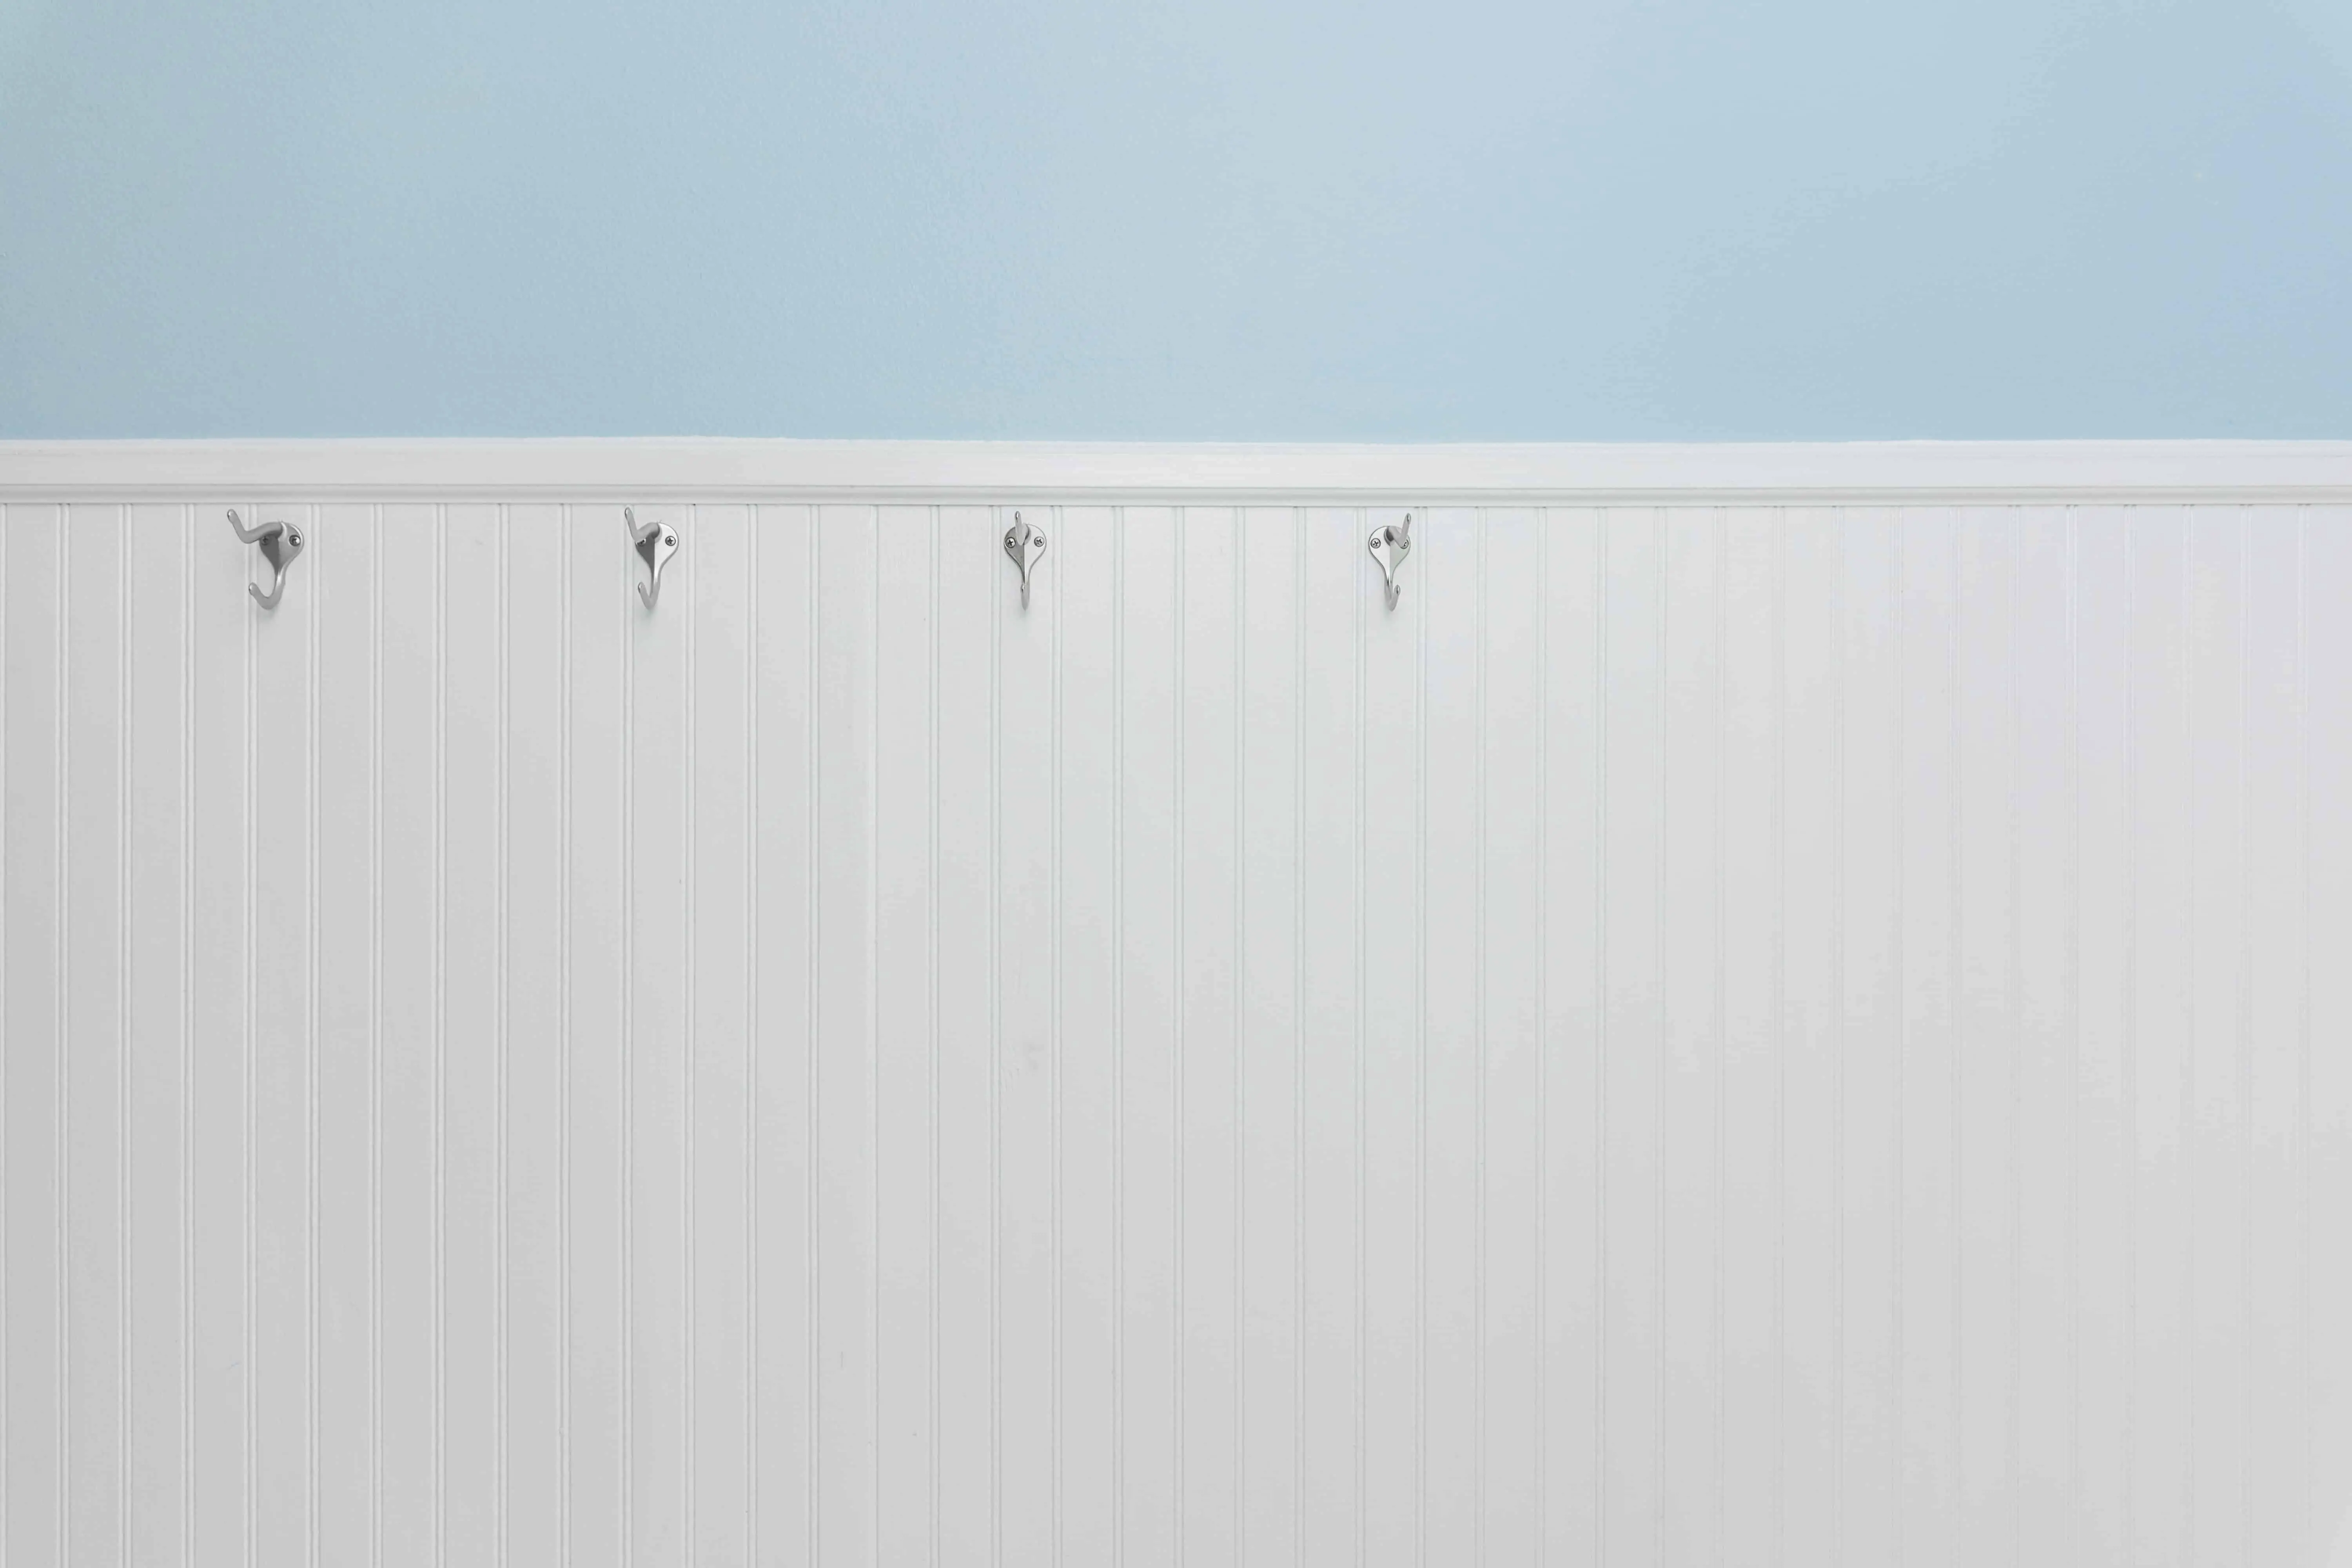
One of the most common questions regarding stain is how it differs from paint. The answer is actually much simpler than you would have guessed: stain protects and preserves wood, rather than hiding blemishes as paint does.
If done properly, paint will last longer than a stain. If you decide to use stain, it will require periodic re-coating as it is prone to wearing away. Oil-based stain, which is used for MDF beadboards, can last longer than other stains, however. An oil-based stain has a lifespan of about four years.
Because stain soaks into the beadboard, the naturality of the wood still shines through. Paint however sits on the surface of the beadboard and hides all blemishes. Paint covers details in MDF beadboard while stain highlights the details.
If you want your MDF beadboard to look more like natural wood, then use stain. However, if you wish to cover the flaws in beadboard, use a different method such as paint.
Once you have painted your MDF beadboard, it is not recommended to then switch to stain. While it is simple to go from stain to paint, the same can not be said about going from paint to stain. Going from paint to stain requires additional work that could have been avoided. If you are questioning which decision is best, it is suggested to start with stain as you will be able to easily change your mind later.
How To Stain MDF Beadboard Without Ruining It

Now that you know it is possible to stain MDF beadboard without ruining it, you may be wondering how to do so. To stain beadboard, there are only four simple steps! These four steps include prepping your work area, sanding and cleaning the beadboard, applying an oil-based wood conditioner, and applying the stain. Below will explain more in-depth exactly how to stain your MDF beadboard.
Step 1
The first step to staining MDF beadboard is to set up and prepare your work area. Begin by gathering all the materials you will need for your project. A list of the materials that you will need is given below.
- MDF beadboard
- Plastic tarp
- Fine-grit sandpaper
- Tack cloth, vacuum, or cloth
- Oil-based wood conditioner
- Natural-bristled brush
- Oil-based stain
After gathering your materials, move the MDF beadboard to a place where you are okay with making a bit of a mess. It is suggested to set up your work area either in your backyard, front yard, or garage. Place a plastic tarp on the ground and place the MDF beadboard on top of it.
Step 2
The second step is to prepare the beadboard for staining. First, begin by using sandpaper to remove any blemishes from the beadboard. Use fine-grit sandpaper for this process. Fine-grit sandpaper ranges from 120-220 grit and is best used for removing scratches. When sanding the MDF beadboard, it is important to do so in the correct direction. For MDF beadboards, sand up and down, rather than side to side.
In order for the third step to be done properly, do not over-sand. If you were to over-sand your MDF beadboard, the wood grain would seal and the oil-based wood conditioner would not absorb correctly.
After sanding down the MDF beadboard, clean it. Wipe down the beadboard with a tack cloth, vacuum, or damp cloth. To remove loose materials from the grooves, use a bristled brush. Remove any dust and debris before progressing to the next step.
Step 3
The third step is to spread oil-based wood conditioner to the MDF beadboard. The wood conditioner will help to prevent the staining from appearing blotchy. The wood conditioner will fill the pores of the wood and will result in a uniform and even absorption in the finality of the project. An oil-based wood conditioner will make the stain appear more uniform and not streaky.
Apply a thin, even coat of wood conditioner to the beadboard. Use a natural-bristled brush, moving the brush up and down while applying it. After the application, gently remove any excess conditioner with a cloth. Allow the conditioner to fully dry before advancing to the next step. The wood conditioner takes about thirty minutes to dry, but do not wait more than two hours before applying the stain. The ideal temperature for an oil-based wood conditioner is seventy degrees Fahrenheit, or twenty degrees Celcius, with sixty percent humidity.
Step 4
After completing the steps below, you are now ready to actually stain your MDF beadboard! For MDF beadboards, use an oil-based stain. Because oil-based stain lasts longer than other kinds of stains, if it is applied properly it should last no less than four years.
Before applying the stain, use a paint stirring stick to stir the stain. Use a natural-bristled brush and apply the stain in up and down strokes, just as was done for the sanding. Next, gently remove any excess stain with a cloth.