Did you just move into a new house only to find the walls are textured? Or are you sick of looking at the textured walls of your childhood home?
You can sand down textured walls. However, this is not the best option. Skim coating, replacing, covering up, or distracting from the textured wall are much better options. Sanding down the walls will cause dust to cover the room. You’ll be cleaning dust out of corners for months!
Let explore how to get rid of textured walls!
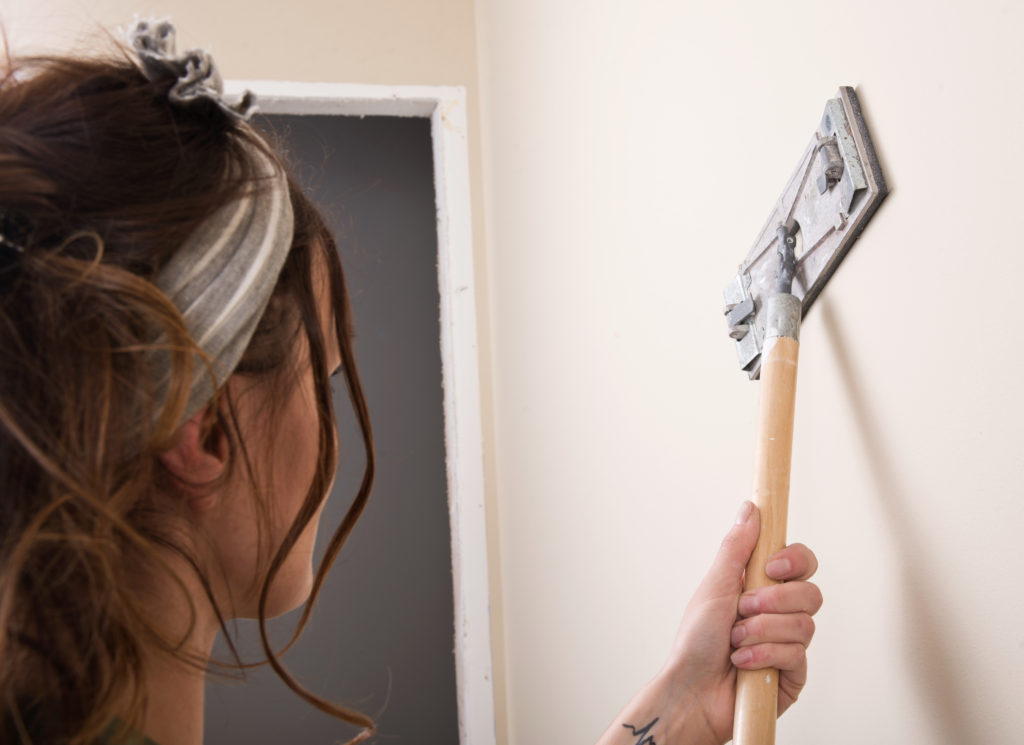
Sanding
You can sand down a textured wall, but this is not the most ideal option to remove the texture. When sanding the wall, you will have a lot of dust accumulate in the room. Not only will you be finding dust in corners months from now, but while sanding, the dust may make it difficult to breathe.
Use a respirator when you sand the textured wall, or check out how to ventilate a room with a fan in the handy video below!
If you choose to sand your textured wall, maybe you don’t have the tools necessary for the other techniques, so make sure you are using the correct type of sandpaper. When picking up your sandpaper, look for the grit number. A higher number grit means a finer, softer paper, while a lower number grit means a rougher, harder paper.
When sanding your wall, use a higher number of grit, around 150 is good. If you use a lower number grit, the bigger pieces of sand will cause lines and streaks to cover the wall instead of the texture.
With that said, because you need to use a finer grit of sandpaper, sanding your textured wall is also going to take a long time! With only a small square of paper to get rid of the texture, you’re going to be at for a while. If you’re pressed for time or don’t want to spend so much time sanding, consider one of the other options.
Skim Coating

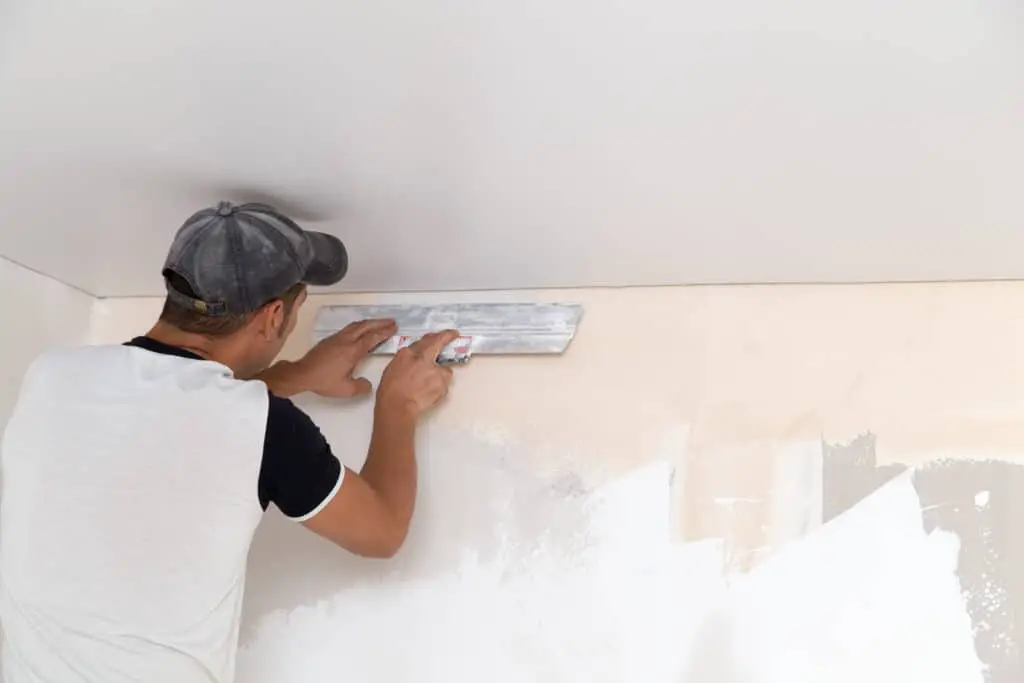
Skim coating is the BEST option for getting rid of textured walls. This technique involves putting a thin layer of joint compound (mud) or plaster on the wall to even out the texture. Although you may need to buy more supplies, your results are going to be much better than sanding. These supplies can be found at your local home improvement store.
Supplies:
- Joint compound (mud) or plaster
- Trowel
- Painters tray or bucket (for mixing)
- Water
- Bristle paintbrush
- Drop cloth (covering floors)
- Fine sandpaper
Skim coating takes around 5 hours to complete, according to other DIY creators, but this is mostly due to the dry time that is needed. Additionally, people have said that this type of project costs them around $50, which is much cheaper than paying a painter to do the skim coating for you.
Below is a video teaching you how to skim coat a wall:
Replacing
Though this option may be too costly, it is still an option. If you don’t want to spend the time sanding or skim coating your wall, or maybe there is too much damage to the drywall already, you may want to consider replacing the wall.
Joan Barton, the owner of Dirty Girl Construction in Los Angeles, states that when it comes to textured walls, replacing them “could be less expensive than skim coating the whole room. It’s probably your best choice if the texture is particularly heavy—such as the stucco look you might see in a Spanish-style home.”
However, with replacing the wall, drywallers and painters will still need to skim coat the wall and sand down any imperfections. Like with any construction in the home, you will be cleaning dust from corners for awhile.
Covering Up
This option has become more popular in recent years. There are ways that you can cover up the textured walls with wood paneling. Flooring companies have begun to put their products on walls more recently, making it easy on you. All you have to do is decide the color and texture.
One thing to be aware of though is that if you decide to go with wood paneling, you have to worry about the baseboards. You’ll need to remove the baseboards and either go without baseboards, a very stylish option, or replace the baseboards, a great chance to get those baseboards you were dreaming of. This may be more work for your flooring company to do, thus more money from your pocket.
Another popular option is 3D wall paneling stickers. I know, I know. Stickers? But it’s true! There are large stickers you can order that will cover entire walls with a brick, wood, or patterned look. The only problem is that because the stickers are so big, they may be difficult to stick to the wall smoothly. Definitely a two-person job. Here are some sticker options:
Distract The Eye
Distracting from the texture walls is probably the EASIEST and FASTEST option. If you’re worried about guests hating on your textured walls, simply drawing their eyes away from it will prevent those nasty comments. There are several ways you can do this.
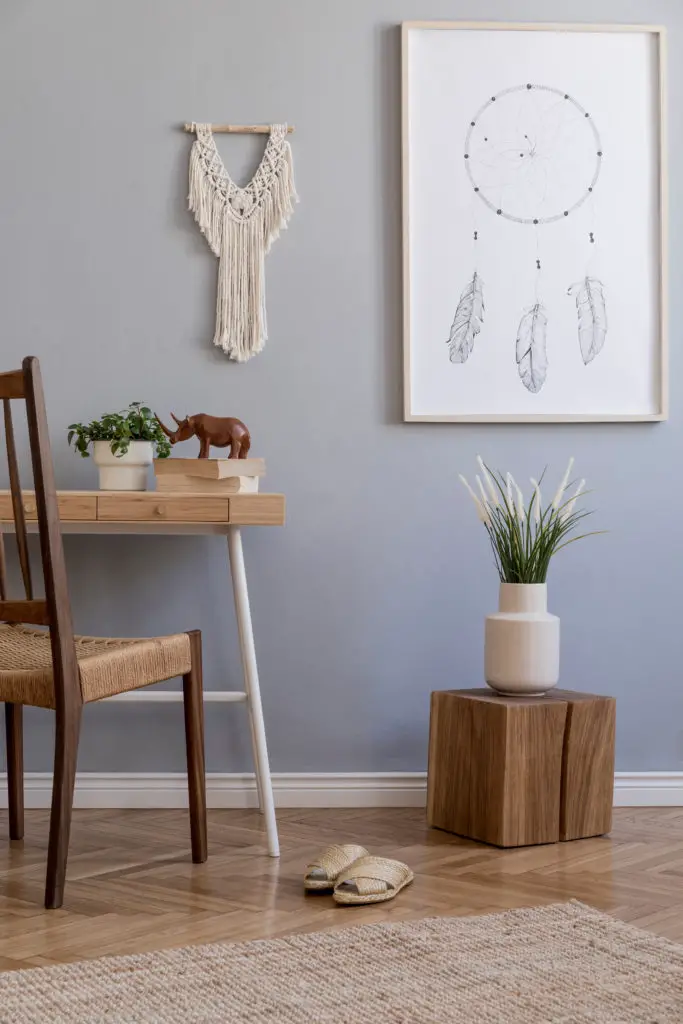
Artwork— Place some attractive artwork on your walls to draw the eye instead of the texture walls. Guests will not even notice the textured walls when staring at the works of art.
Pictures— Putting pictures of the family on the wall is a great option! Especially if they include a cute furry friend. People will be drawn to the cute faces instead of the textured wall.

Decor— Hanging plants, tapestries, shelves, fake plants, macrame, banners, and more are all perfect distractions from your textured walls. Anything that screams your style is especially nice!
Lighting— If you keep the lighting low and away from the walls, the textured walls will be less noticeable. Though this may be difficult if you didn’t choose the light fixtures that came with the house.
Paint— Barton suggests using flat, neutral-colored paint instead of satin or glossy paint in bright colors as they will just highlight the texture more. This means your walls will have a matte, velvety look instead of being shiny.
