
Sometimes, cracks and/or signs of wear and tear can happen to your plasterboard. In these circumstances, what should you do next?
You can put plasterboard on top of plasterboard. The most popular way to layer plasterboard on top of each other is by using adhesives, larger nails, or the “dot and dab method”. Be sure to remove any gloss paint or wallpaper before adding the additional layer.
We will talk about several methods that others have found effective to layer plasterboard on top of each other, with Method Three specifically for those who are dealing with ceilings or larger walls.
Method One: Nails
Things you need: Rigid insulation (already stuck on wall), screws to fit your plasterboard (see Step 3).
- Sand out any additional layers from your plasterboard so your plasterboard won’t bulge out unnecessarily.
- Measure out the two pieces of plasterboard together and the height it would take to reach the timber uprights behind.
- Buy screws that would fit through both pieces of plasterboard and reach the timber uprights behind. The size usually varies from 400mm-600mm spacings apart.
- Screw the nails into both sides of the plasterboard and condition the board in the way you would like!
Many have noted that when they use this method, their wall extends out 50mm on the wall.
Method Two: Using Adhesives
Things you need: Sanding equipment, acrylic sealant, foot lifter, packing strips
- Sand out any additional layers from your plasterboard so your plasterboard won’t bulge out unnecessarily.
- Clean off any dust or dirt that is remaining from your plasterboard. “The existing substrate should be sound and flat to within a 5mm tolerance when measured with/under a 2000mm straight edge.” Source
- Remove anything that would get in the way of the adhesive and the plasterboard (window boards, switches, wall units, etc.).
- Use an acrylic sealant to the already plasterboard. If you have any form of insulated plasterboard, you can apply the sealant to that.
- “Apply the acrylic sealant adhesive approximately 25mm in diameter and they are to be positioned at 300mm centers horizontally and vertically. This type of adhesive grabs instantly and will set very quickly (within the hour).” Source
- Lift the plasterboard using a foot lifter (if needed) to level both the plasterboards in place.
- “Insert packing strips (these can be plasterboard offcuts) at the base to wedge the system in place and remove the foot lifter. Use a straight edge to tap the system firmly into place until the face is level with the predetermined guidelines drawn on the floor and ceiling, and use a spirit level to ensure the plasterboard is level and plumb.” Source
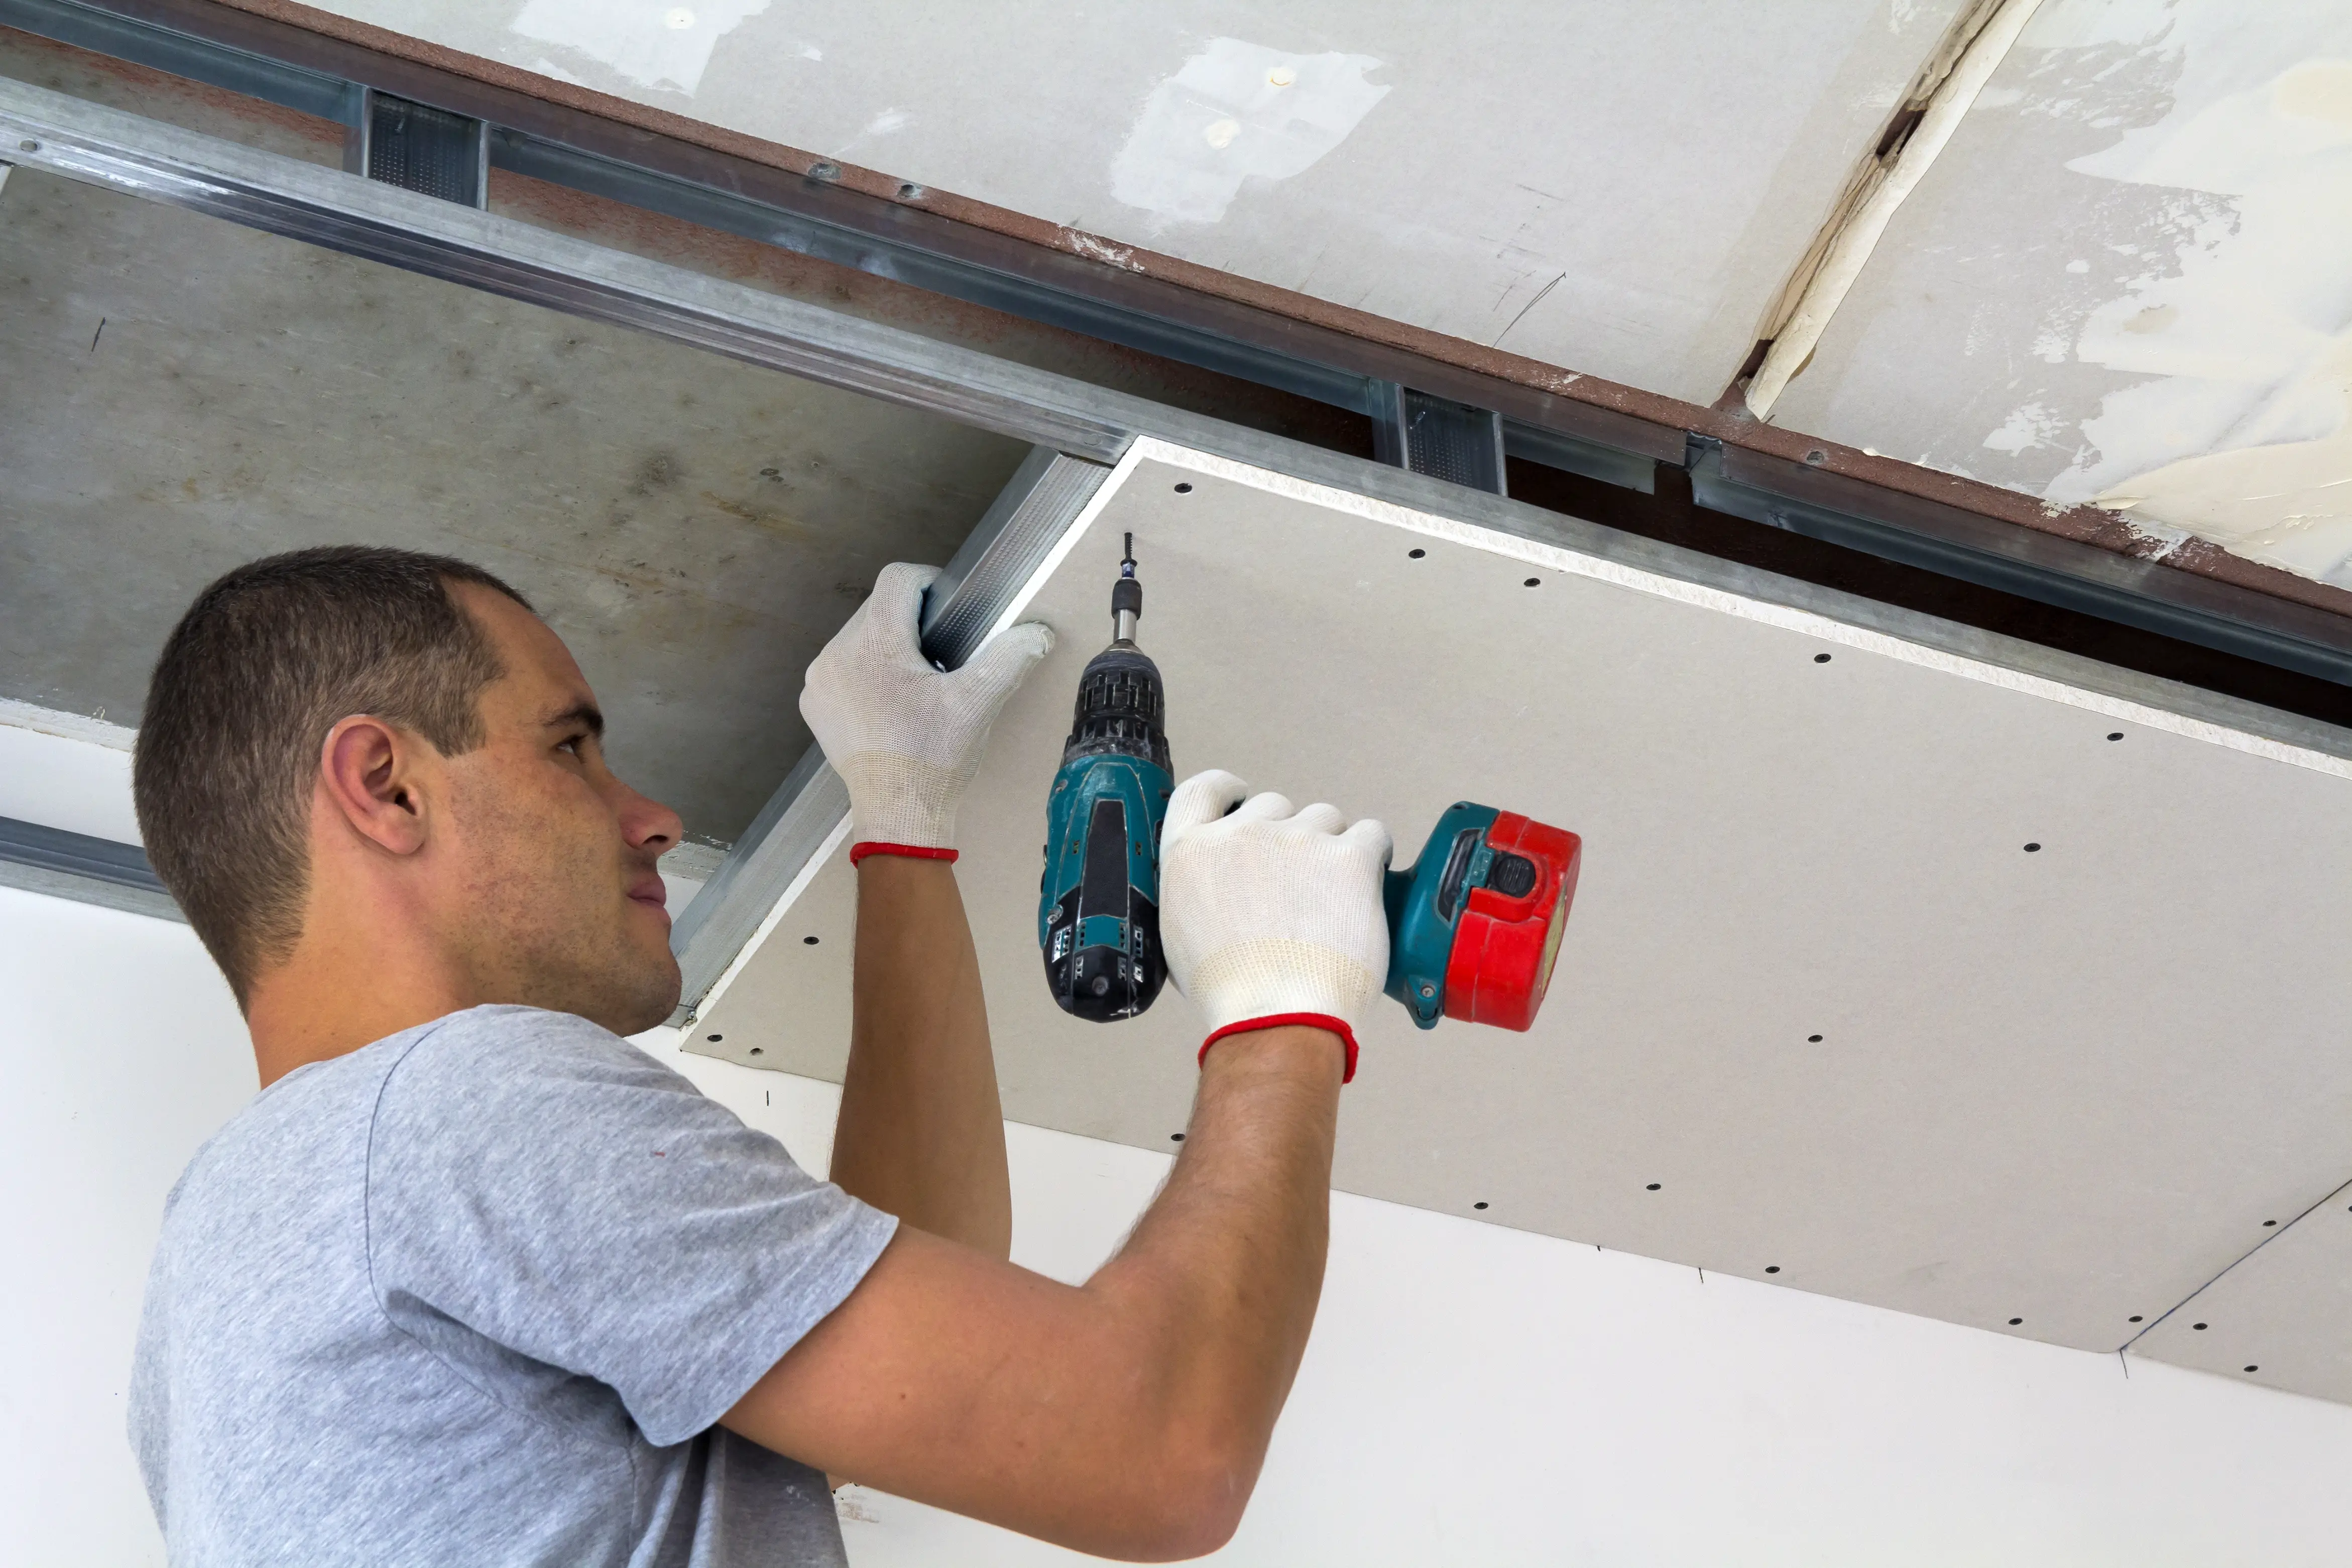
Method Three: Plastering Ceilings And Spots With Tall Widths
This method is primarily used for those who will need to apply their plasterboard on higher-up parts of their house (ceilings, wide walls, etc). I have taken a step-by-step manual directly from a home improvement site on how to best do this.
Double layering plasterboard in these places is a popular option and can help better insulate your home.
Things You Need: Tape Measure, elevator rack, stud finder, 2-inch drywall screws, keyhole saw, paper joint tape, plasterboard.
- “Measure the surface area of the ceiling by standing on a ladder to measure at the top of the wall where the wall meets the ceiling. Have a helper hold a tape measure for you at the opposite end of each wall.
- Calculate the ceiling surface area by multiplying the length times the width of the room. Each 4-by-8 sheet of drywall is 32 square feet, so divide the ceiling surface area by 32 to determine the number of sheets you will need. As a beginner or novice, you should buy at least one extra sheet.
- Clear the room so that you can work safely and more efficiently.
- Set up the drywall elevator rack in one corner of the room. The elevator rack has two hooks on one side that allow you to place a sheet of drywall on in a vertical orientation and then tilt it horizontally to lift it into place with a ratcheting vertical cylinder.
- Lift the first sheet of drywall into place tightly against the surface of the ceiling in one corner of the room.
- Using an electronic stud finder locate the ceiling joists that the old drywall is attached to and then mark the location of the ceiling joists.
- Drive 2-inch drywall screws through your new drywall, through the old drywall, and into the ceiling joists. Screws should be driven in every 10 to 12 inches along with every ceiling joist.
- Repeat Steps 5, 6, and 7 for the rest of the sheets of drywall by measuring for each sheet and cutting to fit. Use a keyhole saw to cut a hole in the location of the electric box where the light fixture will be.
- Use a general-purpose joint compound to fill in over all of the screw heads. Apply paper joint tape over all of the joints and along with the ceiling corners by pressing it into place with a wide putty knife and joint compound. Repeat this step until the surface is smooth and even by sanding down the joint compound between applications.” Source
Method Four: “Dot And Dab” Method
“Dot and dabbing” is a typical method that workers use to fix plasterboard to a wall. Usually, this method is used to apply the board to the edge of the house itself, but it can be also be used on drywall.
Things you need: large marker, tool to cut plasterboard, plasterboard adhesive, trowel, board lifter
- “Mark the ceiling and floor at the thickness of the board plus the adhesive. Also, mark the wall to show where the center of each board will be.
- Cut the plasterboard 15mm short of the wall height.
- Mix the plasterboard adhesive to a thick consistency. Using a trowel, apply a continuous band around the perimeter of the existing plasterboard, ceiling edge, and any services or openings.
- Apply the adhesive in dabs that are 50mm to 75mm wide and around 250mm long. Use three vertical rows for each board, with one in the middle and two at least 25mm from the edge. Also, apply a band of adhesive at the skirting level.
- Place the reverse side of the board against the dabs, resting on plasterboard packers. Tap it using a straight edge until it aligns with the marks on the ceiling and floor.
- Using a board lifter, raise the board until it’s tight against the ceiling. Wedge the board into place using plasterboard packers, then remove the lifter.
- Follow the same process for the rest of the room, then remove the plasterboard packers from underneath the boards when the adhesive has set.” Source
