Many wall texture styles have fallen out of fashion and their roughness can be dangerous on the skin. Redoing your walls in any capacity will be time-consuming and labor-intensive, and hiring a professional will cost several hundred, if not thousands, of dollars. There’s got to be a better way right? If you’re looking to do it yourself, what’s the best way to go about it?
You can drywall over textured walls by filling in the gaps with a skim coat of mud. This process can be repeated with multiple coats and sanded until smooth. Hanging new drywall over existing textured walls is unadvised, but necessary in cases of high damage.
With time, patience, and a little practice, anyone can do this job relatively cheap and can drastically change the look of your walls for the better.
Why Skim Coat?
Skim coating is the process of applying joint compound (also known as mud: if you’re going to be a homeowner, you might as well learn the slang) to a wall or ceiling to fill in divots to create a uniform surface that can be worked on. It’s can also be used to create new textures on top of smooth walls by drawing or stamping in details while still wet.
Applying your own skim coat does take time and some level of skill. It requires decent hand-eye coordination and the ability to apply the compound thinly, but smoothly over the surface of your wall. If you don’t feel confident in your skill, that’s ok– With a little practice, patience, and knowing what to look for, you too can do a professional-looking job that will serve you well for years to come.
When Should I Hang New Drywall?
Let’s say you want to solve a texture problem, but are also dealing with some serious damage to your walls. When holes, cracks, bubbling are involved, a simple skim coat isn’t going to cut it and you will most likely have to put up (or hang, as the pros say) new drywall.
Putting up new drywall on top of existing drywall without knocking down the old wall is possible, but will require lots of extra work and time in the long run. Hanging a 1/4 inch layer of drywall on top of the existing drywall will solve both your texture and damage problems, but your wall has to be in bad shape in order for this solution to be the best alternative.
Putting up new drywall would require you to remove baseboards, moldings, and door frames, raise up/extend electrical sockets and switches forward, and be able to find existing studs hidden behind the original drywall. This is a lot of work!
If the damage is serious enough though, ripping up the whole wall and hanging fresh drywall may be more practical.
Whatever you decide to do, save yourself time in the long run by doing it right the first time, not just slapping on temporary solutions.
How To Skim Coat A Wall: An Overview
The main idea:
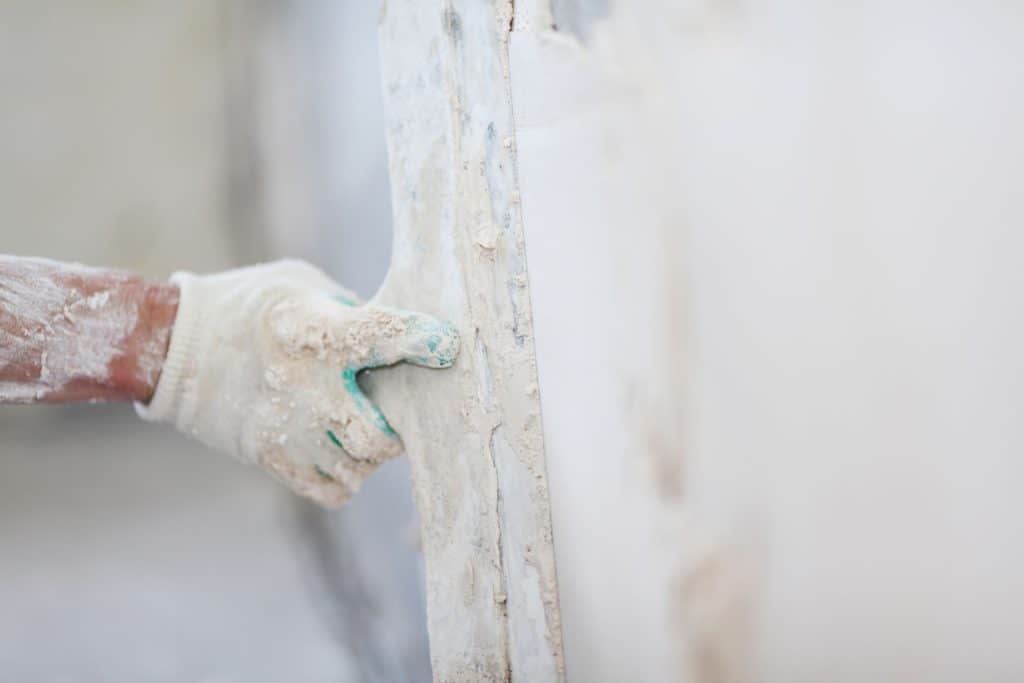
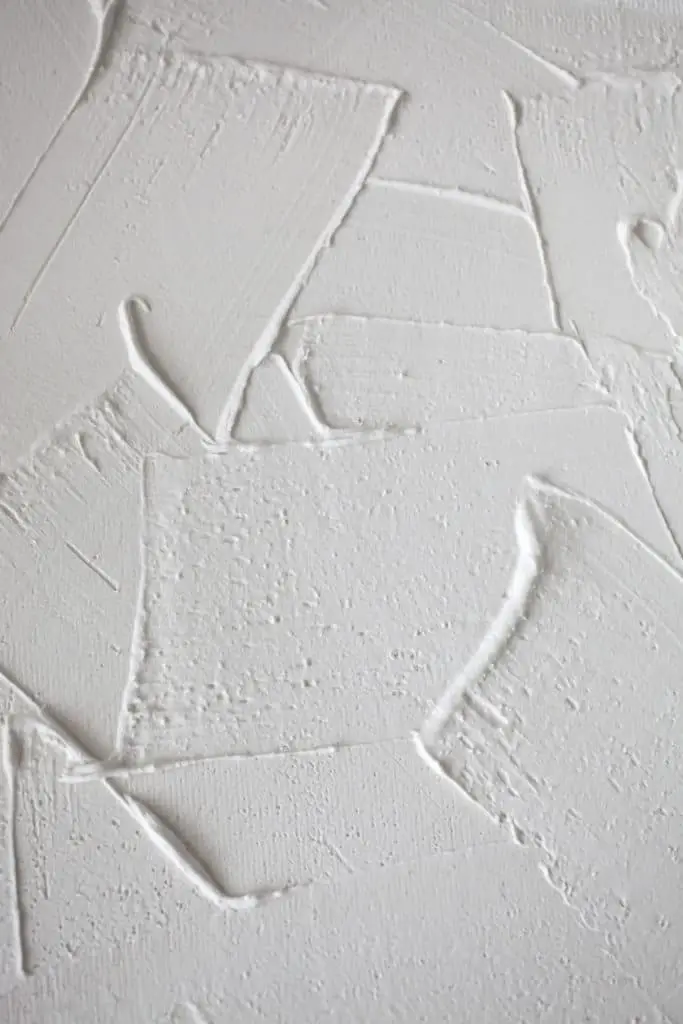
When your goal is to remove the texture, the main idea is to fill in the negative space created by the raised textures. With skim coating, you’re applying a thin, even layer of compound over the raised surfaces and smoothing out the peaks with a builder’s knife.
What You Will Need:
- Joint compound
- Water
- Paint roller
- Mud knives of various sizes
- Mud tray
- Different grits of sandpaper, rough to medium fine
- Vacuum
- optional: drywall sealant/primer to fix holes and chips
Prepare
Starting out right is the best way to finish right.
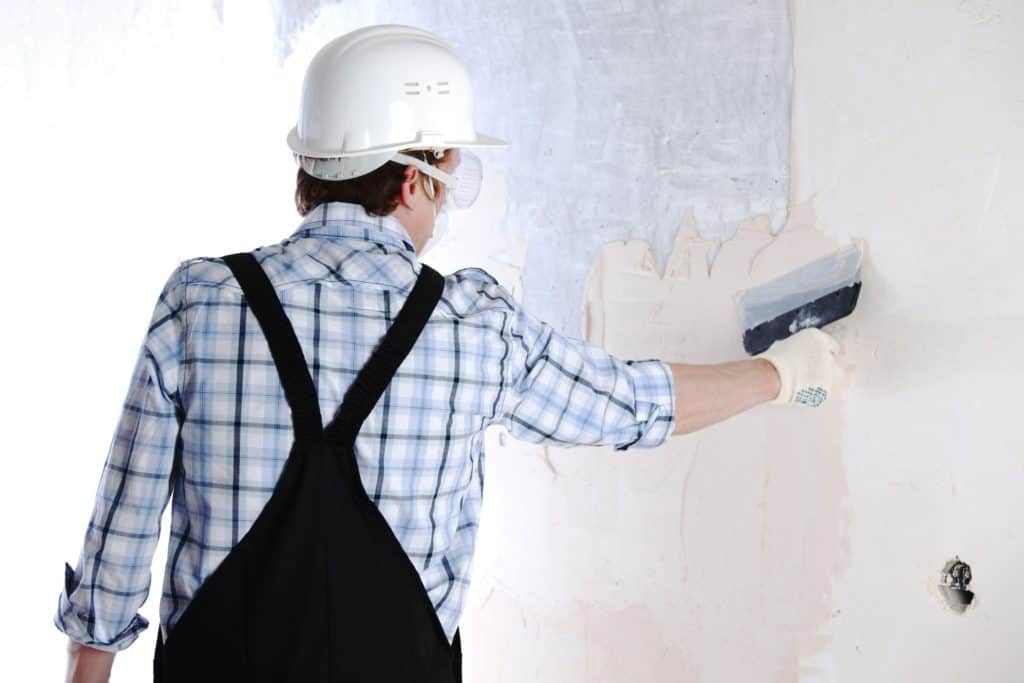
Before you begin, repair any cracks, chips in the drywall, and make sure no brown drywall paper is visible. Your joint compound will be wet going on, and if drywall paper is exposed, it will bubble and deform if it gets wet. This can be solved by using a primer/sealant/porosity solvent, which will seal up the paper and make it both waterproof and ready for the compound to stick to.
When your surface is ready to accept wet compound, sand down and scrape with a builder’s knife to remove the highest peaks of your texture. Don’t worry about getting everything perfectly smooth. Just make sure to remove any peaks in texture that will extrude past others. Creating a level baseline to work off of will save you extra time and costs in the long run, and will help you to get the best-looking wall with the fewest coats possible.
NOTE: When drywalling over popcorn texture walls and ceilings, check for asbestos!!
Before you scrape or sand down your popcorn walls or sealings, make sure to get them tested for asbestos. Scraping down popcorn textures creates a lot of dust and many of the older versions contain poisonous asbestous and/or lead paint.
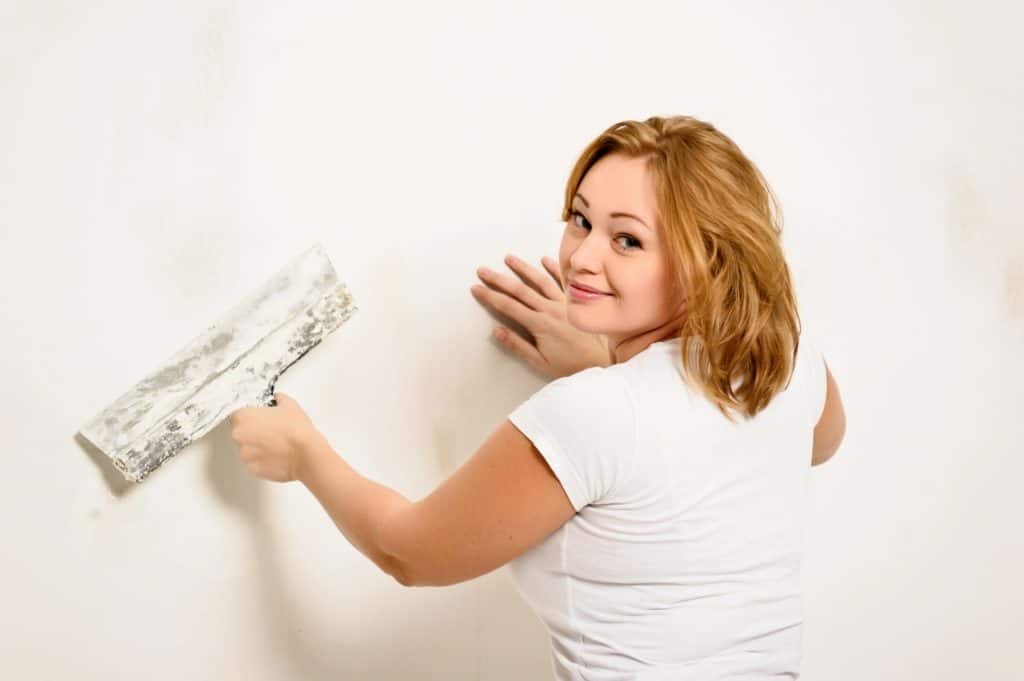
Skim Coating
Your starting compound coat will be fairly thick: about the consistency of yogurt or soft-serve ice cream. Mix the mud with water until you get the right consistency!
For orange peel and other bumpy textures, we recommend using a heavy-duty paint roller to apply the first coat of mud. This will help you to get the compound on the wall quickly so you can work on smoothing it out before it dries.
For more dramatic textures, going straight in with the knife and a thicker compound will be more effective.
Once your first coat of mud is applied, use mild pressure and scrape your knife along the surface of the wall. Doing so will smooth out the surface of the compound and drag around to fill the divots, creating a smooth level surface. This will probably take some practice if you haven’t done it before.
If you create any raised ridges with the ends of your knife (known as lap marks), don’t worry about it. Once the mud is dry, these are easy to sand down to make a level with the wall around them.
Sand, Vacuum, and Coat again
Once the compound is completely dry, sand over the highest peaks again, and vacuum the surface to remove dust and debris.
After this is done, repeat the process of spreading and scraping with a slightly thinner mud and water solution. You can control the thickness of your mud by using different amounts of water and mud. You still want your mud to be thick enough to stick on a pallet knife, mud that is too thick will emphasize texture and defects and won’t give you a smooth and even finish.
Finish
Once you have applied a few coats and have achieved your desired level of smoothness, you should be ready for new texture or paint! Congrats on your new skill and the money you saved!